-
How to Set external Parameters in the Service Container (2.7)
August 18, 2017 - permalink - http://symfony.com/doc/2.7/configuration/external_parameters.htmlEn gros pour dockeriser une app symfony pre 3.2 (ET 2.7 minimum) :
- il faut utiliser des env var speciales : SYMFONY__*
- faire en sorte que apache les passent en contexte à l'application (PassEnv)
- Bien sur il faut que tout ça soit dynamique... (entrypoint, sed conf apache..)sed -i "s/PLACEHOLDER/PassEnv $(env|grep -Po 'SYMFONY__[^=]+'| paste -s -d' ')/" test.file
A partir de symfony 3.2 c'est beaucoup plus facile car les variables d'environnements sont directement accessibles dans les fichiers de configuration
-
-
-
Note: List item in dynamo db table
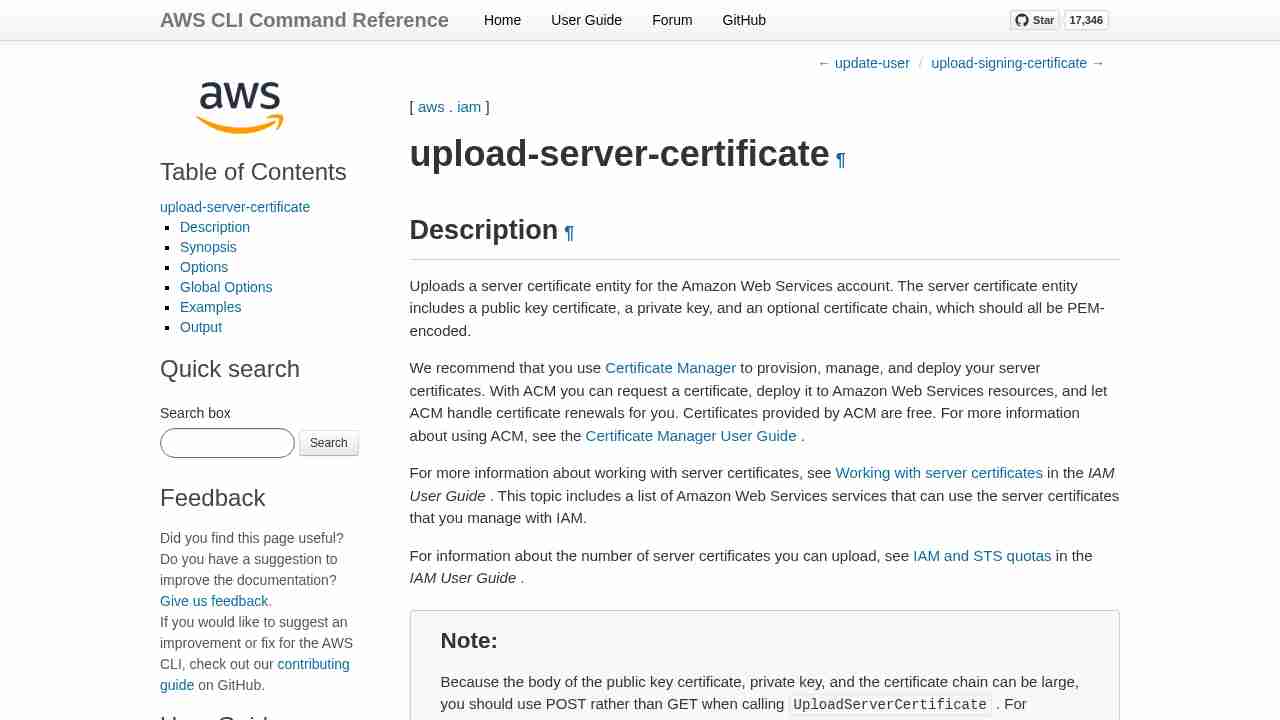
August 18, 2017 - permalink - https://links.infomee.fr/shaare/AqSZDAaws dynamodb scan --table-name foo
-
Note: Delete dynamo db item in cmdline
August 18, 2017 - permalink - https://links.infomee.fr/shaare/bx3KXgaws dynamodb delete-item --table-name foo --key "{\"id\":{\"S\":\"$id\"}}"
-
-
-
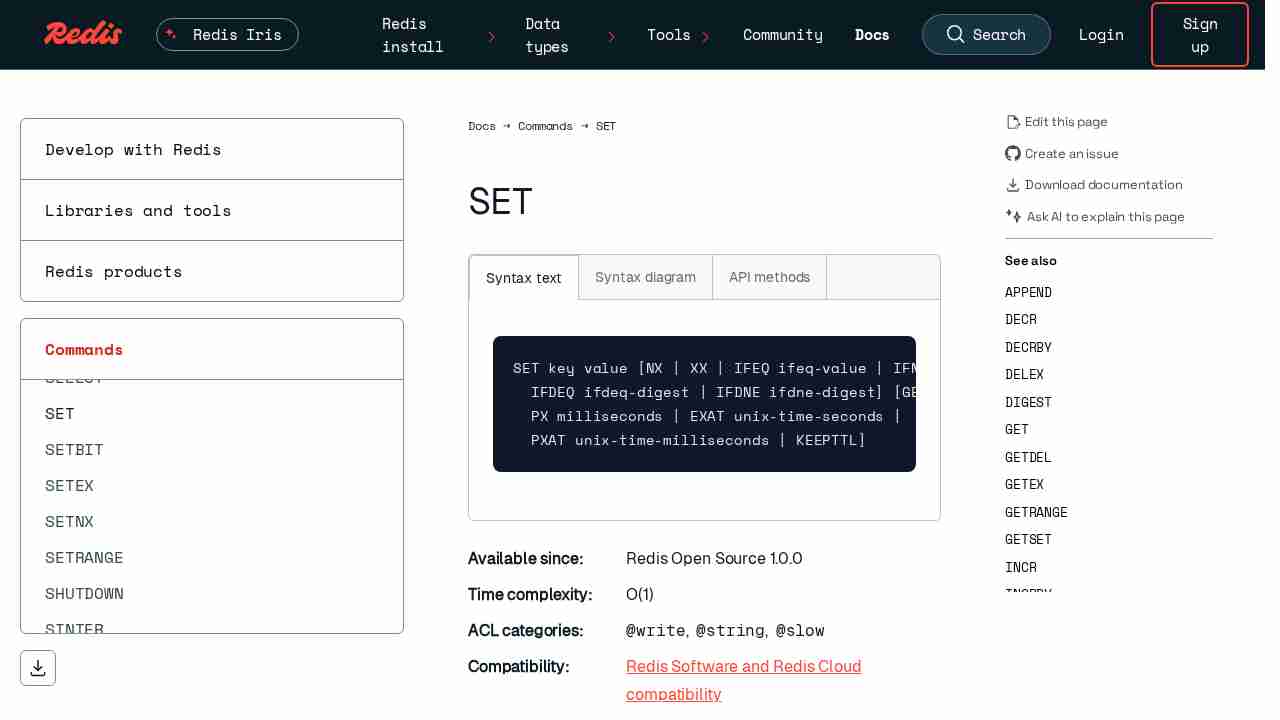
SET – Redis
July 17, 2017 - permalink - https://redis.io/commands/setUn lock simple avec un seul redis master :
SET lock_name random_value NX EX 250
NX : crée seulement si existe
EX : timeout en secondeRetirer le lock seulement en donnant la valeur de creation du lock
Dans le cas de plusieurs serveurs redis pas du tout synchronisés, c'est plus compliqué (distributed lock) --> https://redis.io/topics/distlock
M'enfin c'est quand meme plus simple d'utiliser une queue (RMQ, SQS..) quand on peut
-
-
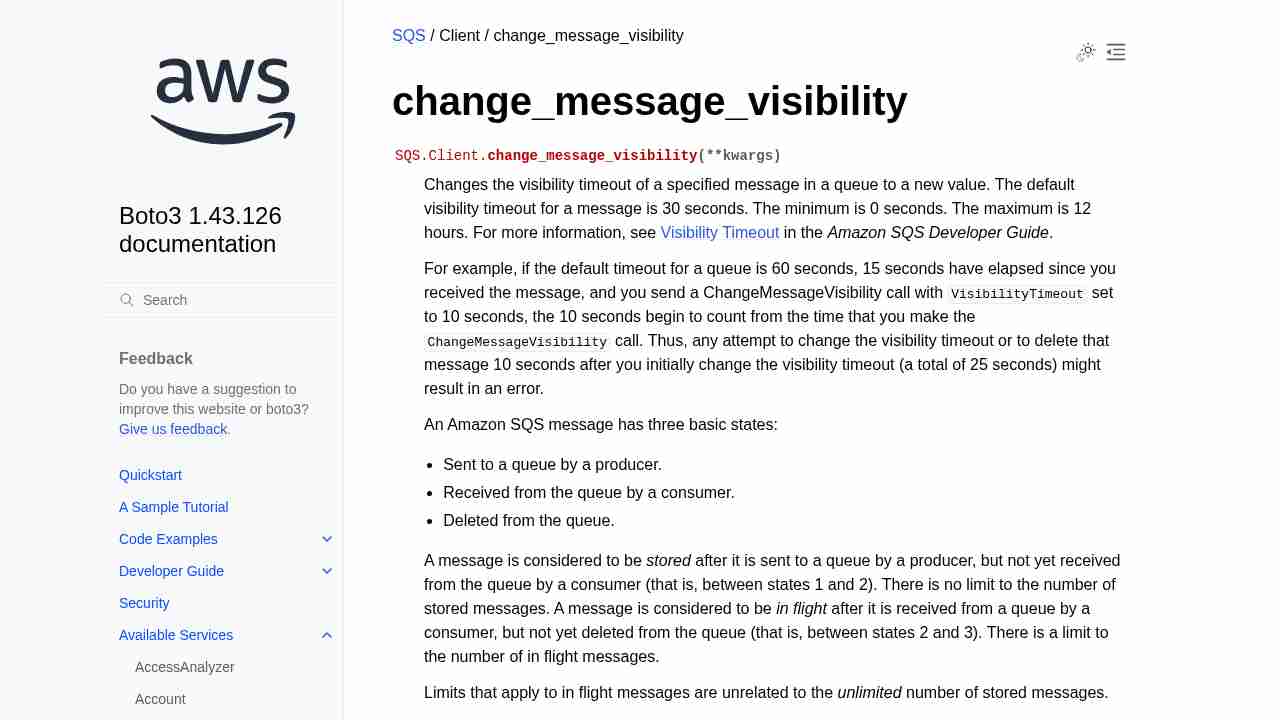
SQS — Boto 3 Docs 1.4.4 documentation
July 12, 2017 - permalink - http://boto3.readthedocs.io/en/latest/reference/services/sqs.html#SQS.Client.change_message_visibilityOn peut "remettre" ou plutot rendre disponible de nouveau un message SQS en changeant sa visibility timeout à 0
-
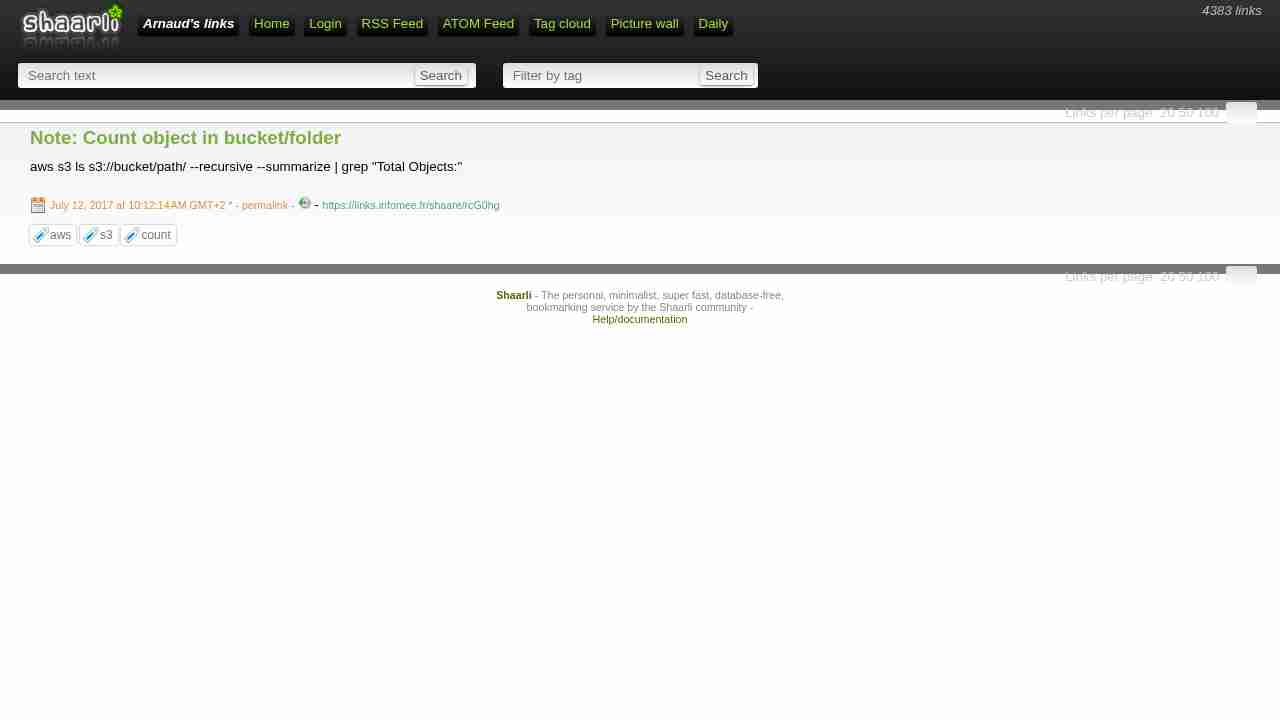
Note: Count object in bucket/folder
July 12, 2017 - permalink - https://links.infomee.fr/shaare/rcG0hgaws s3 ls s3://bucket/path/ --recursive --summarize | grep "Total Objects:"
-
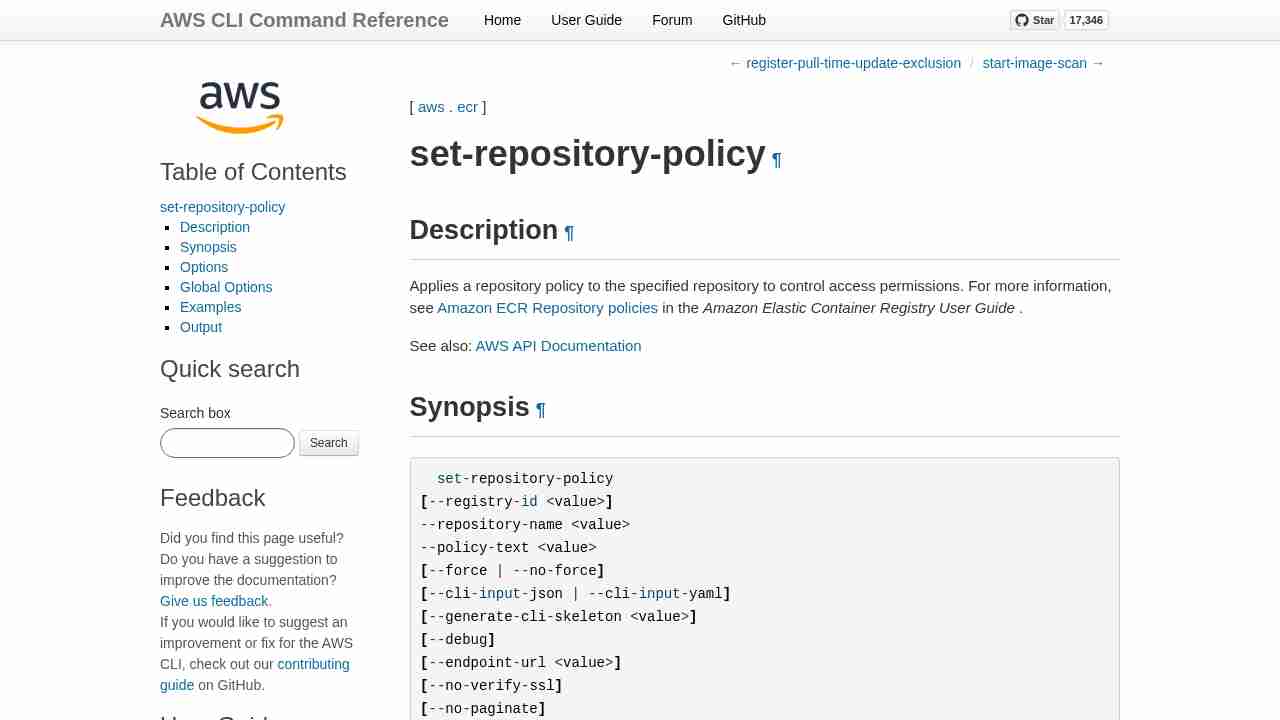
set-repository-policy — AWS CLI 1.11.117 Command Reference
July 11, 2017 - permalink - http://docs.aws.amazon.com/cli/latest/reference/ecr/set-repository-policy.htmlTruc con : on ne peut pas utiliser le résultat du get-repository-policy dans le set-repository-policy pour cloner.
Il faut au passage enlever les \n qui trainent dans la réponse
-
Logging HOWTO — Python 3.6.2rc2 documentation
July 11, 2017 - permalink - https://docs.python.org/3/howto/logging.htmlpython3 log to file AND stdout
import logging
logging.basicConfig(handlers=[logging.FileHandler('/var/log/runner/process1.log'),logging.StreamHandler()],format='%(asctime)s %(levelname)s %(message)s',level=logging.INFO)logging.info('foo')
Encore mieux pour supporter le logrotate sans copytruncate :
import logging.handlers
logging.basicConfig(handlers=[logging.handlers.WatchedFileHandler('/var/log/worker/worker1.log'),logging.StreamHandler()],format='%(asctime)s %(levelname)s %(message)s',level=logging.INFO)/var/log/worker/*.log {
monthly
rotate 12
compress
delaycompress
missingok
notifempty
create 644 root root
}Python 2:
import logging as loggingg
logging = loggingg.getLogger('simple_example')
logging.setLevel(loggingg.INFO)formatter = loggingg.Formatter('%(asctime)s %(levelname)s %(message)s')
console_handler = loggingg.StreamHandler()
console_handler.setLevel(loggingg.INFO)
console_handler.setFormatter(formatter)file_handler = loggingg.FileHandler('/var/log/worker/worker3.log')
file_handler.setLevel(loggingg.INFO)
file_handler.setFormatter(formatter)logging.addHandler(console_handler)
logging.addHandler(file_handler)
-
Newer docker client with older Docker host - Server Fault
July 6, 2017 - permalink - https://serverfault.com/questions/664999/newer-docker-client-with-older-docker-host:~$ docker -H tcp://10.73.204.73:2375 ps
Error response from daemon: client is newer than server (client API version: 1.24, server API version: 1.19):~$ DOCKER_API_VERSION=1.19 docker -H tcp://x.x.x.x:xxxx ps
CONTAINER ID IMAGE COMMAND CREATED STATUS PORTS NAMES
-
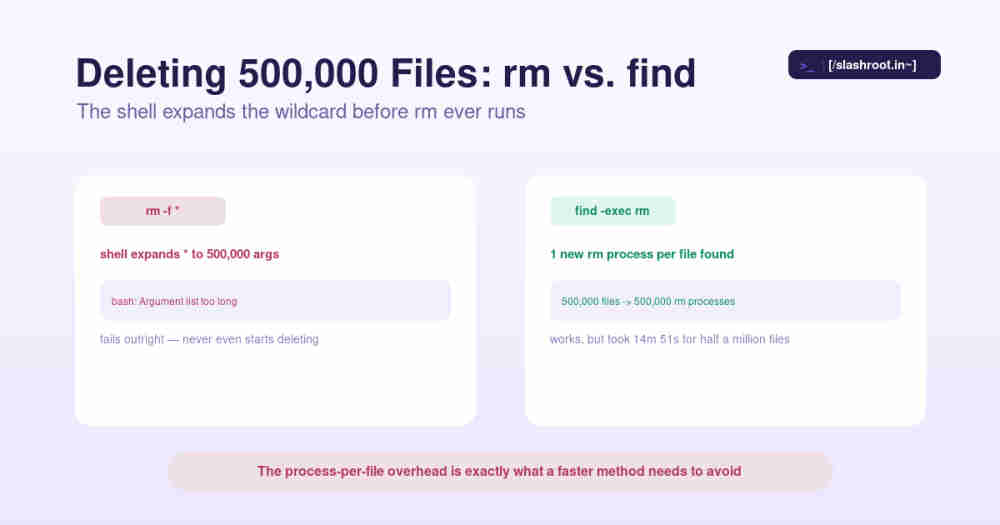
Which is the fastest method to delete files in Linux
July 3, 2017 - permalink - http://www.slashroot.in/which-is-the-fastest-method-to-delete-files-in-linuxwtf?
cd dir
time perl -e 'for(<*>){((stat)[9]<(unlink))}'
-
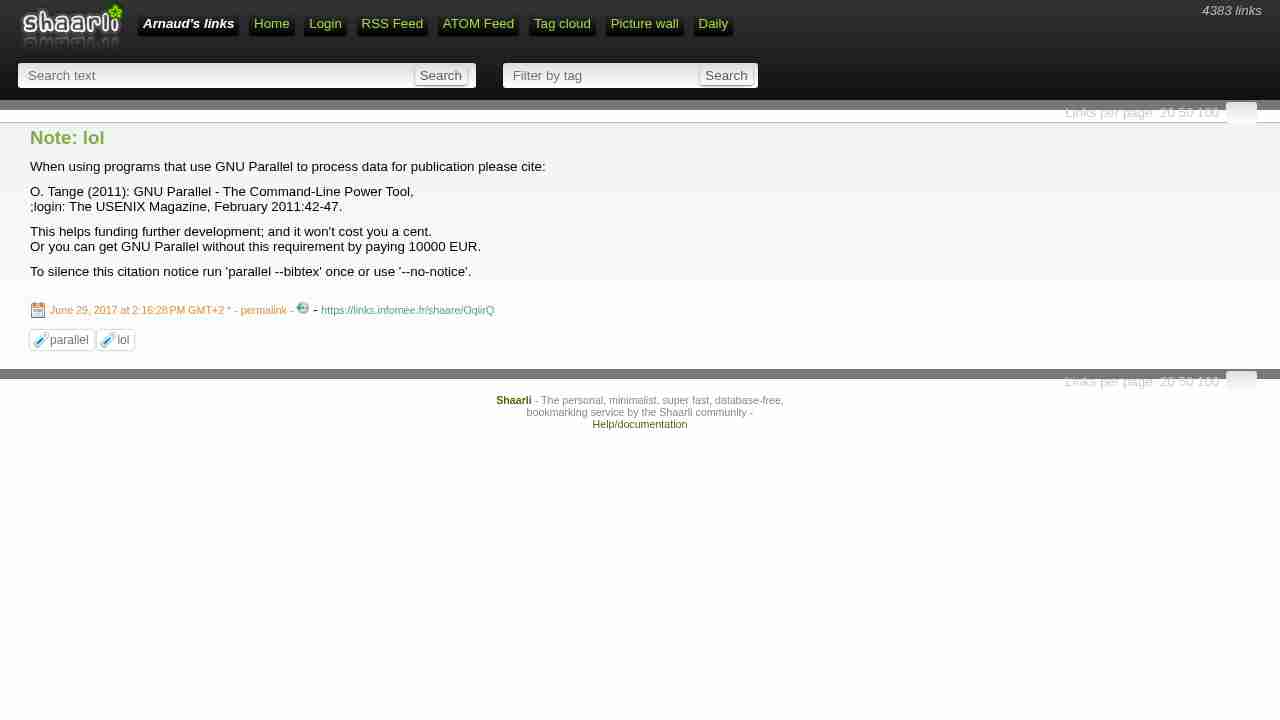
Note: lol
June 29, 2017 - permalink - https://links.infomee.fr/shaare/OqiirQWhen using programs that use GNU Parallel to process data for publication please cite:
O. Tange (2011): GNU Parallel - The Command-Line Power Tool,
;login: The USENIX Magazine, February 2011:42-47.This helps funding further development; and it won't cost you a cent.
Or you can get GNU Parallel without this requirement by paying 10000 EUR.To silence this citation notice run 'parallel --bibtex' once or use '--no-notice'.
-
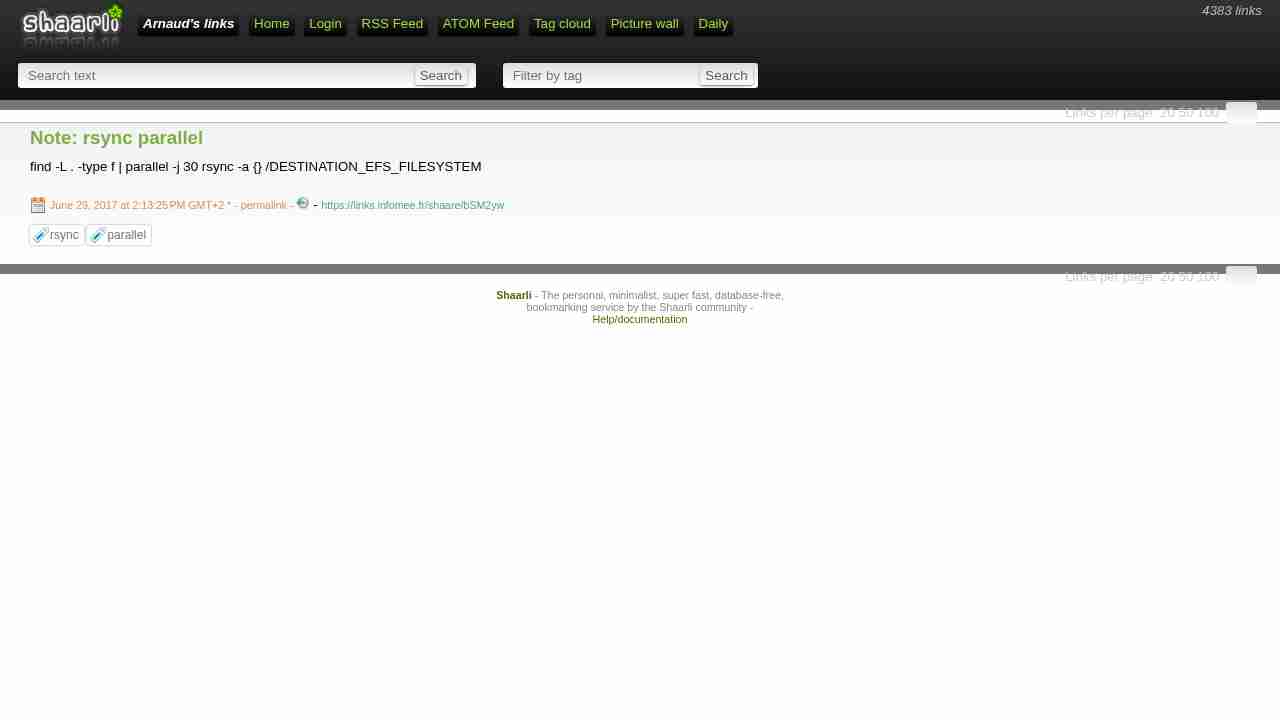
Note: rsync parallel
June 29, 2017 - permalink - https://links.infomee.fr/shaare/bSM2ywfind -L . -type f | parallel -j 30 rsync -a {} /DESTINATION_EFS_FILESYSTEM
-
-
List remote Git branches and the last commit date for each branch. Sort by most recent commit date.
June 27, 2017 - permalink - https://gist.github.com/jasonrudolph/1810768for branch in
git branch -r | grep -v HEAD;do echo -egit show --format="%ci %cr" $branch | head -n 1\t$branch; done | sort -r
-
-
Amazon Glacier Direct Upload vs Glacier Upload via Amazon S3
June 27, 2017 - permalink - https://www.cloudberrylab.com/blog/compare-amazon-glacier-direct-upload-and-glacier-upload-through-amazon-s3/So you can put your data into glacier with 2 differents ways:
1) directly to glacier via API
2) Store them to s3 then with a management policy, it'll go to GlacierWarning : Huge cost when you download from glacier and when you delete before 3 months
-
-
-
-
-
Using CloudFormer to Create AWS CloudFormation Templates from Existing AWS Resources - AWS CloudFormation
June 19, 2017 - permalink - http://docs.aws.amazon.com/AWSCloudFormation/latest/UserGuide/cfn-using-cloudformer.htmlCloudFormer to create AWS CloudFormation templates from existing AWS resources
-
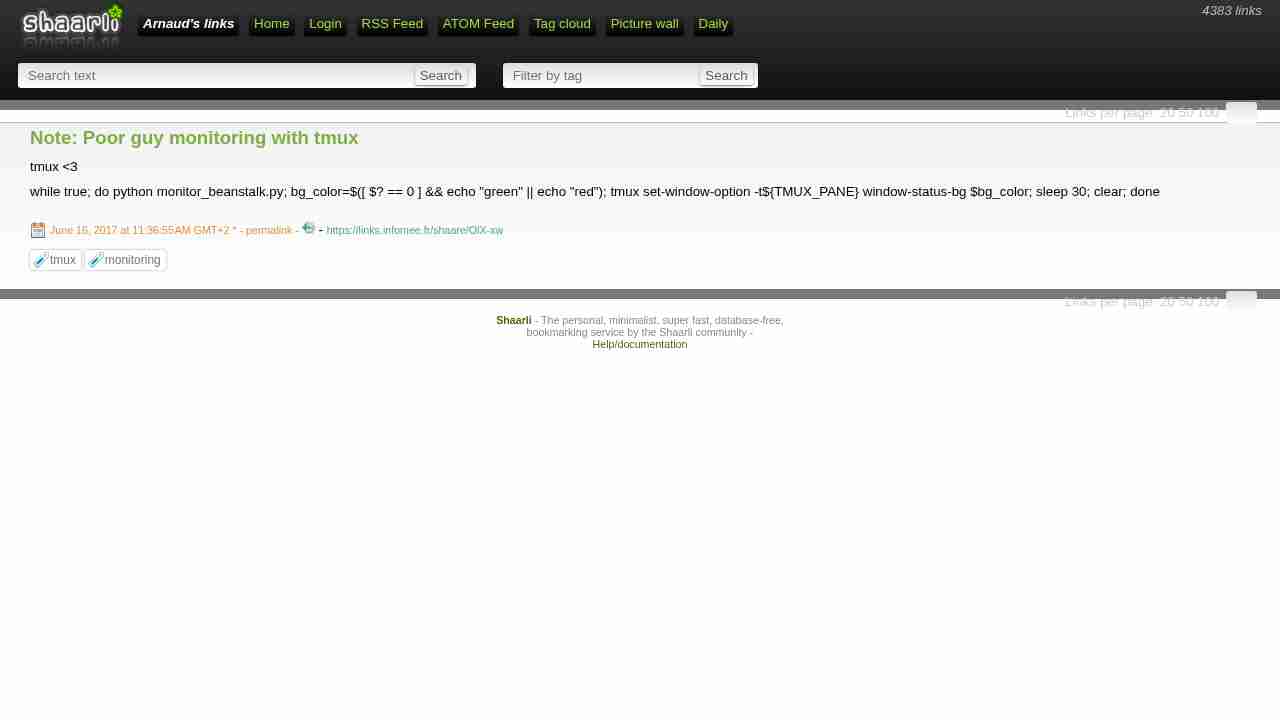
Note: Poor guy monitoring with tmux
June 16, 2017 - permalink - https://links.infomee.fr/shaare/OlX-xwtmux <3
while true; do python monitor_beanstalk.py; bg_color=$([ $? == 0 ] && echo "green" || echo "red"); tmux set-window-option -t${TMUX_PANE} window-status-bg $bg_color; sleep 30; clear; done
-
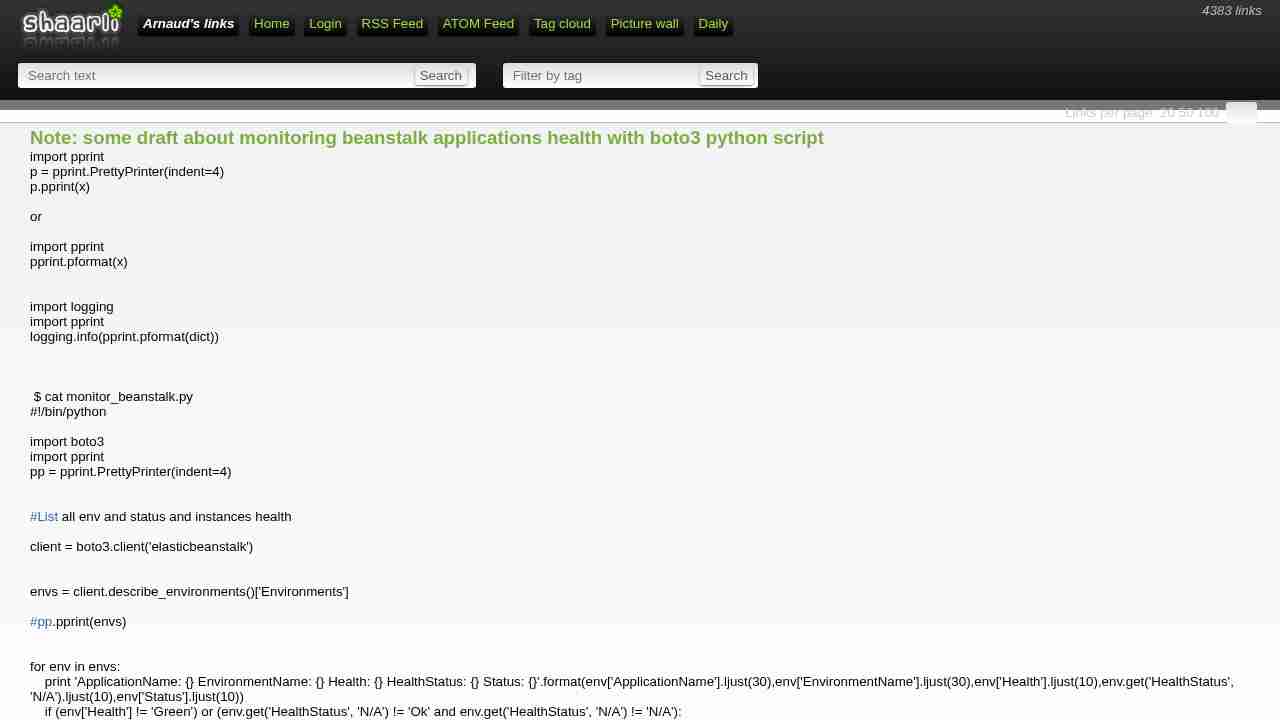
Note: some draft about monitoring beanstalk applications health with boto3 python script
June 15, 2017 - permalink - https://links.infomee.fr/shaare/eFFzMgimport pprint
p = pprint.PrettyPrinter(indent=4)
p.pprint(x)or
import pprint
pprint.pformat(x)import logging
import pprint
logging.info(pprint.pformat(dict))$ cat monitor_beanstalk.py
!/bin/python
import boto3
import pprint
pp = pprint.PrettyPrinter(indent=4)List all env and status and instances health
client = boto3.client('elasticbeanstalk')
envs = client.describe_environments()['Environments']
pp.pprint(envs)
for env in envs:
print 'ApplicationName: {} EnvironmentName: {} Health: {} HealthStatus: {} Status: {}'.format(env['ApplicationName'].ljust(30),env['EnvironmentName'].ljust(30),env['Health'].ljust(10),env.get('HealthStatus', 'N/A').ljust(10),env['Status'].ljust(10))
if (env['Health'] != 'Green') or (env.get('HealthStatus', 'N/A') != 'Ok' and env.get('HealthStatus', 'N/A') != 'N/A'):
print '\nProblem'
details = client.describe_environment_health(EnvironmentName=env['EnvironmentName'],AttributeNames=['All'])
#pp.pprint(details)
print details['Causes']
print details['InstancesHealth']
print '\n'
-
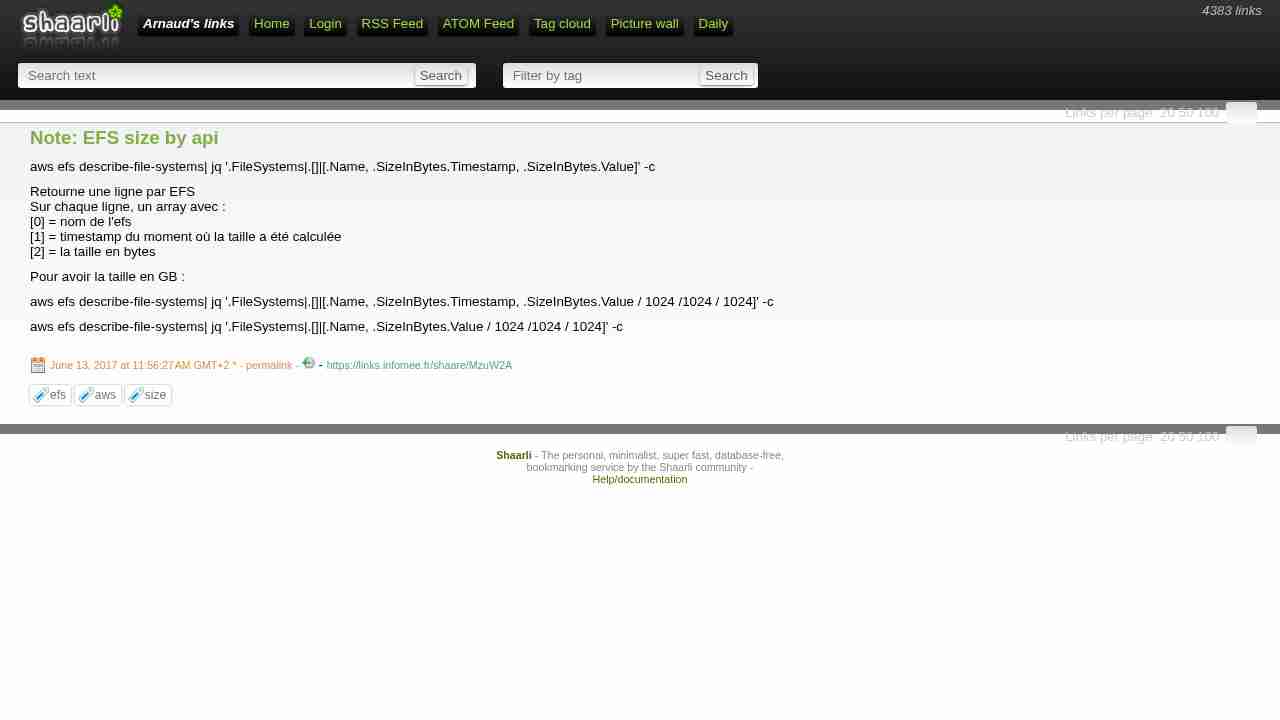
Note: EFS size by api
June 13, 2017 - permalink - https://links.infomee.fr/shaare/MzuW2Aaws efs describe-file-systems| jq '.FileSystems|.[]|[.Name, .SizeInBytes.Timestamp, .SizeInBytes.Value]' -c
Retourne une ligne par EFS
Sur chaque ligne, un array avec :
[0] = nom de l'efs
[1] = timestamp du moment où la taille a été calculée
[2] = la taille en bytesPour avoir la taille en GB :
aws efs describe-file-systems| jq '.FileSystems|.[]|[.Name, .SizeInBytes.Timestamp, .SizeInBytes.Value / 1024 /1024 / 1024]' -c
aws efs describe-file-systems| jq '.FileSystems|.[]|[.Name, .SizeInBytes.Value / 1024 /1024 / 1024]' -c
-
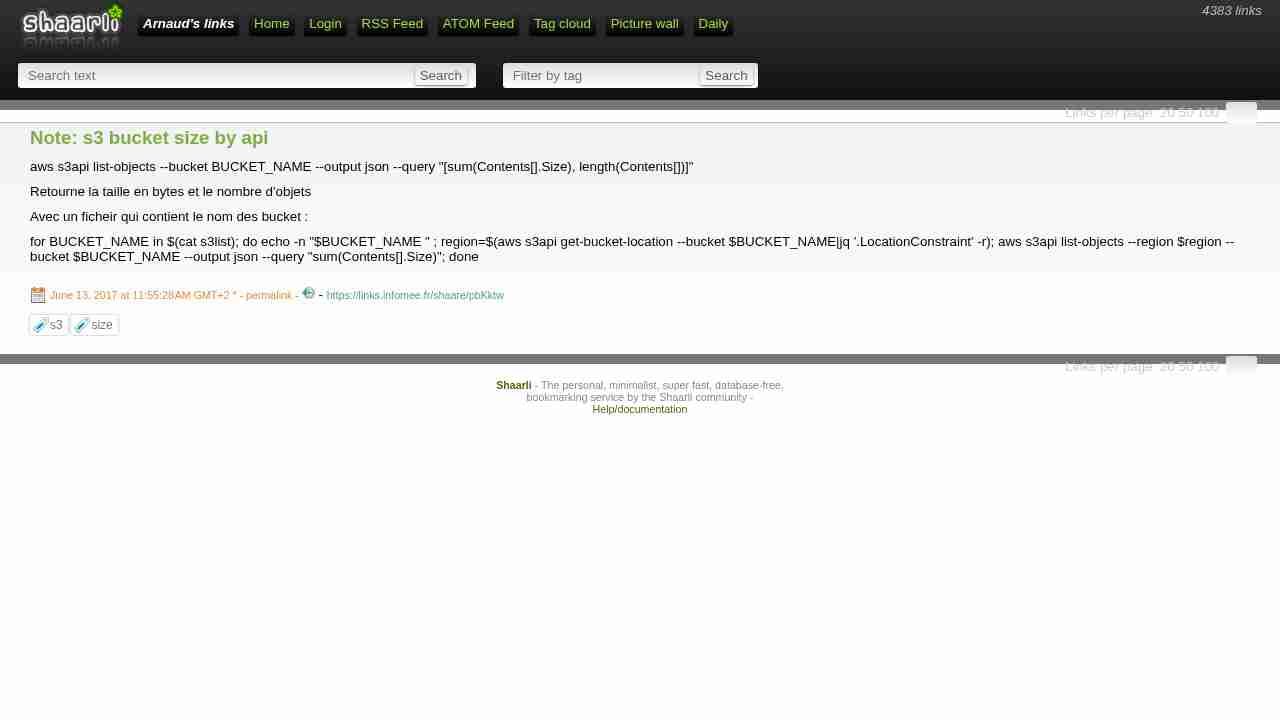
Note: s3 bucket size by api
June 13, 2017 - permalink - https://links.infomee.fr/shaare/pbKktwaws s3api list-objects --bucket BUCKET_NAME --output json --query "[sum(Contents[].Size), length(Contents[])]"
Retourne la taille en bytes et le nombre d'objets
Avec un ficheir qui contient le nom des bucket :
for BUCKET_NAME in $(cat s3list); do echo -n "$BUCKET_NAME " ; region=$(aws s3api get-bucket-location --bucket $BUCKET_NAME|jq '.LocationConstraint' -r); aws s3api list-objects --region $region --bucket $BUCKET_NAME --output json --query "sum(Contents[].Size)"; done
-
network - Why does mounting an nfs share from linux require the use of a privileged port? - Ask Different
June 12, 2017 - permalink - https://apple.stackexchange.com/questions/142697/why-does-mounting-an-nfs-share-from-linux-require-the-use-of-a-privileged-portIl faut utiliser l'option noresvport de mount pour que mount n'utilise pas des ports sources inférieur à 1024
Why do you have to? Tradition, mostly. Once upon a time, restricting NFS to privileged ports (<1023) was considered a security measure. Back when people were using mainframe computers, this made sure that the NFS software on the client side was part of the OS/approved by the administrator, since a program can only use a privileged port if it's run by the root user. Today, this makes no sense because anyone can own a computer and have root access, so this doesn't mean anything in terms of security.
By default, many NFS servers don't allow non-privileged source ports. Some NFS clients (such as Ubuntu's), default to using a privileged source port unless otherwise specified, which is why your Linux client works without issue. Clearly, the OS X client doesn't do this. I don't know if that was an Apple design choice or something inherited from BSD. I know that Solaris also defaults to a non-privileged port.
The two ways of avoiding this problem are, telling the OS X client to use a privileged port, as you discovered, or configuring your NFS server to allow non-privileged ports (look it up in your server's documentation).
How do you get OS X to use a privileged port using a GUI? As far as I know, you can't on versions > 10.6. One used to be able to mount NFS shares in Disk Utility and type in extra options, but that was removed. (details) It was never a simple button or anything. NFS is hardly something most of the "non-techy" crowd need, so I guess it wasn't a priority and there are reasons routinely using privileged ports isn't a great idea.
I haven't tried it, but http://www.bresink.com/osx/NFSManager.html seems to allow configuration of OS X's NFS features without the command line.
-
Example 2: Bucket Owner Granting Cross-Account Bucket Permissions - Amazon Simple Storage Service
June 12, 2017 - permalink - http://docs.aws.amazon.com/AmazonS3/latest/dev/example-walkthroughs-managing-access-example2.htmlDonc pour autoriser un compte externe, on va créer une bucket policy sur notre bucket pour autoriser "arn:aws:iam::account_id:root" ou plus précis sur l'user arn:aws:iam::account_id:user/foobar ou le role
C'est le compte en face qui va décider qui a le droit de venir sur notre bucket avec des user policy standard (quand on est dans le contexte du compte en face, c'est comme si le bucket nous appartenait)
Exemple bucket policy à mettre sur le BUCKET de l'account A pour autoriser l'account xxx en RW
{
"Version": "2012-10-17",
"Statement": [{ "Sid": "Allow account_xx on aws account xxx RW", "Effect": "Allow", "Principal": { "AWS": "arn:aws:iam::OTHER_ACCOUNT_ID:root" }, "Action": ["s3:GetBucketLocation", "s3:ListBucket"], "Resource": "arn:aws:s3:::BUCKET" }, { "Sid": "Allow account_xx on aws account xxx RW", "Effect": "Allow", "Principal": { "AWS": "arn:aws:iam::OTHER_ACCOUNT_ID:root" }, "Action": [ "s3:*" ], "Resource": "arn:aws:s3:::BUCKET/*" } ]}
Pour Read only, remplacer action du deuxieme bloc par "Action": ["s3:Get","s3:List"],
-
-
-
-
-
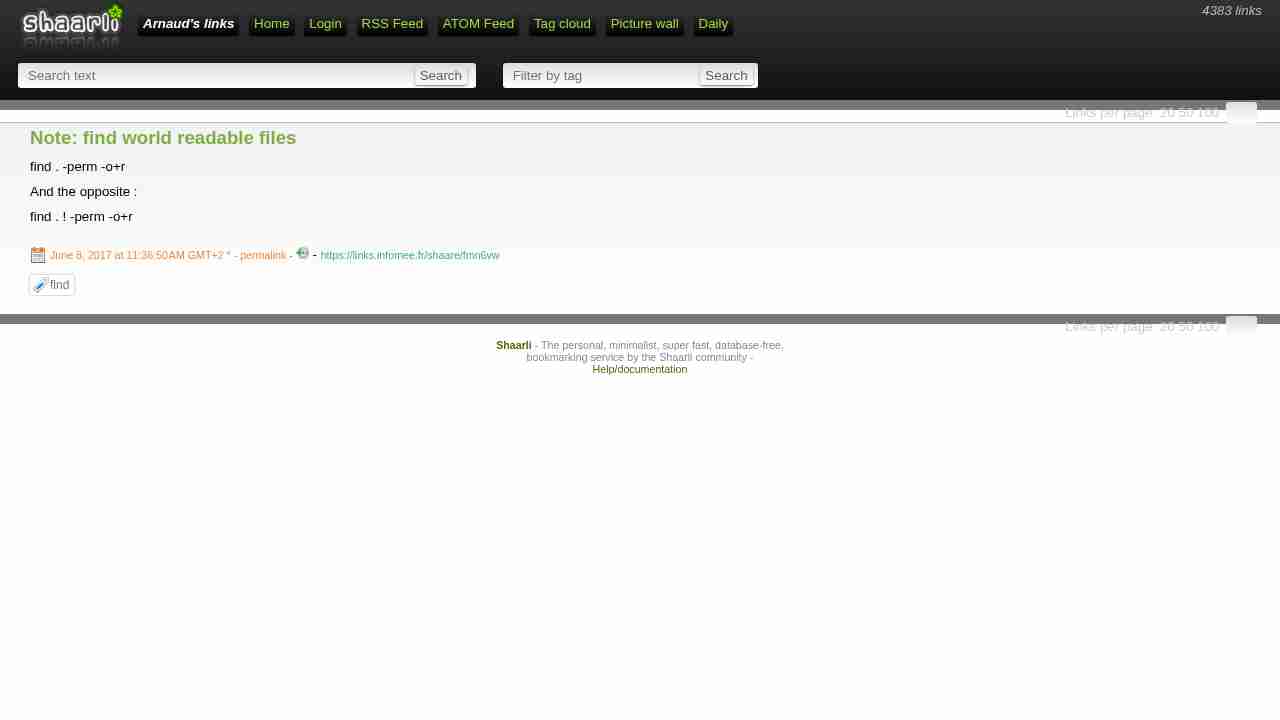
Note: find world readable files
June 8, 2017 - permalink - https://links.infomee.fr/shaare/fmn6vwfind . -perm -o+r
And the opposite :
find . ! -perm -o+r
-
-
-
-
-
-
Everything you should know about Ruby Splats Alex Castaño
June 3, 2017 - permalink - https://alexcastano.com/everything-about-ruby-splats/Les splat en Ruby, l'équivalent des kwargs en python
-
-
MikroTik Routers and Wireless
June 1, 2017 - permalink - https://mikrotik.com/Il parait que c'est du bon matos pas très cher par rapport à la concurrence. Je garde ça de côté.
Via Philippe
-
-
-
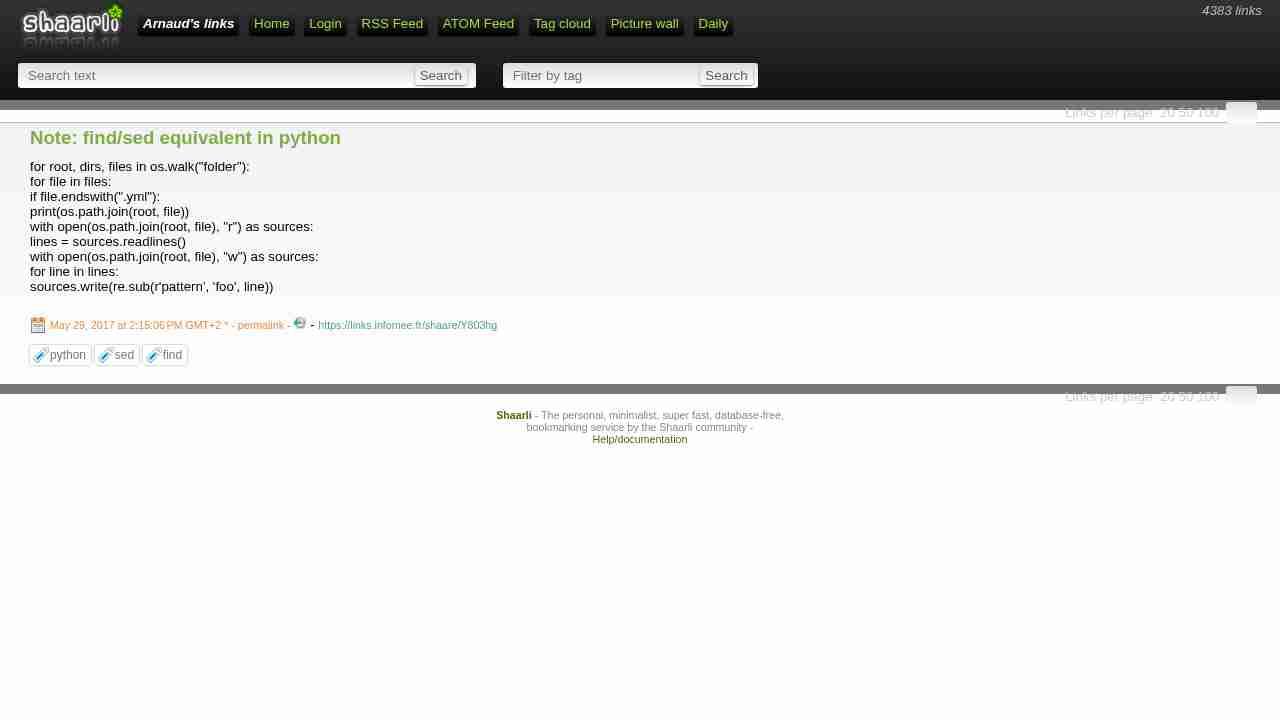
Note: find/sed equivalent in python
May 29, 2017 - permalink - https://links.infomee.fr/shaare/Y803hgfor root, dirs, files in os.walk("folder"):
for file in files:
if file.endswith(".yml"):
print(os.path.join(root, file))
with open(os.path.join(root, file), "r") as sources:
lines = sources.readlines()
with open(os.path.join(root, file), "w") as sources:
for line in lines:
sources.write(re.sub(r'pattern', 'foo', line))
-
-
Full visibility & control of your infrastructure with new Puppet releases | Puppet
May 28, 2017 - permalink - https://puppet.com/blog/full-visibility-and-control-of-your-infrastructure-new-puppet-releasesDéjà Puppet 5. Je me souviens de la migration 3 vers 4 qui n'était pas évidente, là ça a l'air plus facile à première vue !