-
-
How to: Debug SSL certificate problems from the shell prompt
March 21, 2017 - permalink - https://www.cyberciti.biz/tips/debugging-ssl-communications-from-unix-shell-prompt.htmlopenssl s_client -connect www.cyberciti.biz:443
-
-
-
-
mozart-analytics/sqsd: A simple alternative to the Amazon SQS Daemon ("sqsd") used on AWS Beanstalk worker tier instances.
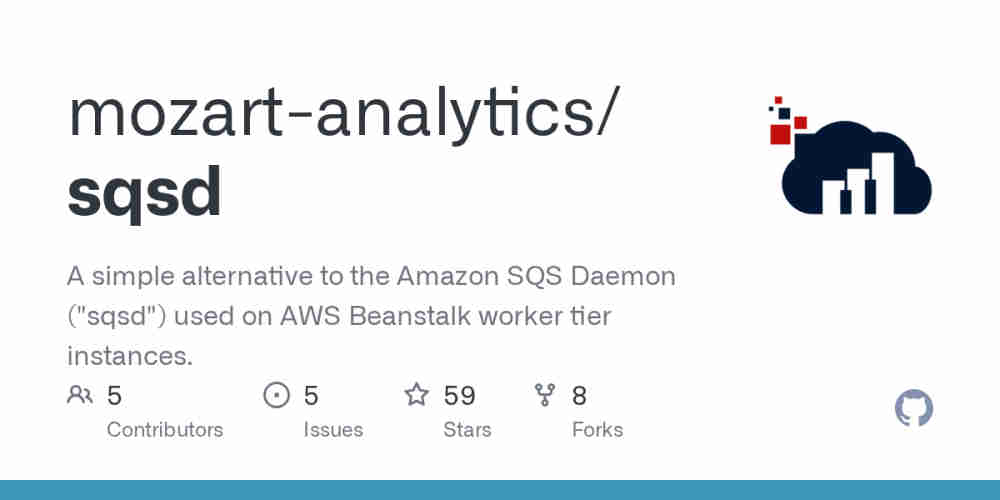
March 16, 2017 - permalink - https://github.com/mozart-analytics/sqsdAs the included diagram portrays, in a common workflow, the worker instance will consume messages sent to a specified Amazon SQS from another service (e.g.: a web server or another worker). These messages will be received by the worker via POST requests. This eliminates the necessity of configuring a worker as an always-on service, as well as having to add code for reading and consuming messages from an AWS SQS queue. In other words, the worker is implemented as a standard RESTful API/Service that will react to a message sent to it at an specific endpoint via a POST request. This is an awesome approach by Amazon to microservices and reactive design.
The conversion of the SQS message to a POST request is executed by what AWS calls the "SQS Daemon" or "Sqsd". This is a simple daemon they pre-install in the worker tier instances that is constantly monitoring an specific AWS SQS queue (provided by configuration) for new messages. When new messages arrive, it constructs a POST request and sends it to a specific endpoint (also provided via configuration). If the endpoint consumes it without errors and returns a 2** HTTP Code in its response, the "Sqsd" deletes the message from the queue to signal that its consumption was successful.
However, even though this approach is extremely powerful, Amazon does not provide the code of this daemon as open source. Therefore, we have reproduced its behavior by creating our own version of the "Sqsd" free for everyone to use. Moreover, we have provided lots of customization and configuration properties so that it can be molded to your specific use cases.
-
Writing IAM Policies: How to Grant Access to an Amazon S3 Bucket | AWS Security Blog
March 15, 2017 - permalink - https://aws.amazon.com/blogs/security/writing-iam-policies-how-to-grant-access-to-an-amazon-s3-bucket/Don't give s3 full access policy to your app user
Prefer to allow access only for specific bucketI wonder what's the best choice : create managed policy or simply use inline policy. I got a 1 to 1 relationship between my app-users and bucket so... inline policy looks good here
-
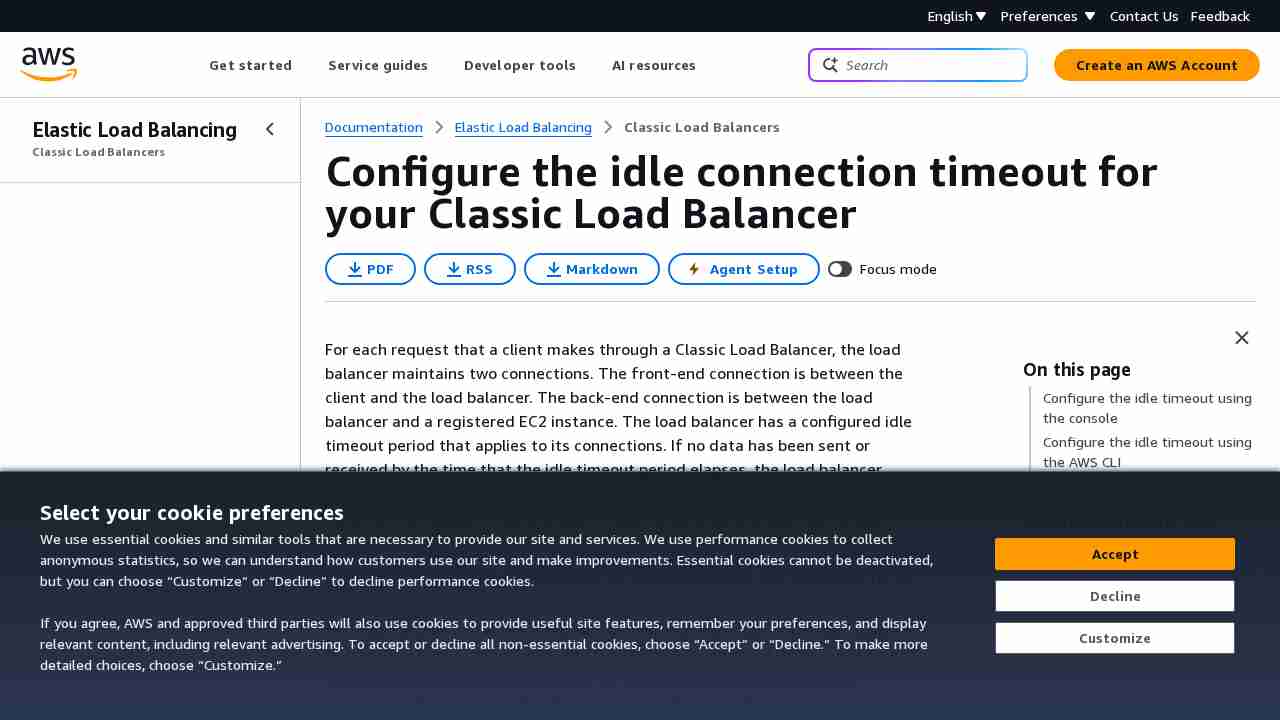
Note: aws auto scaling
March 13, 2017 - permalink - https://links.infomee.fr/shaare/JIGagwspoiler alert: auto scaling is far to be magical
as usual with aws, everything is an object and for autoscaling u got several objects and several links between them
First you define a launch configuration : what type of machine you want to laucnh
Then an autoscaling group : it will use the launch configuration to create new EC2
In this autoscaling group, you have to define auto scaling policies ie what to do (remove or add x instances) and link them to a cloudwatch alert (cpu is high or network or whatever cloudwatch monitors)
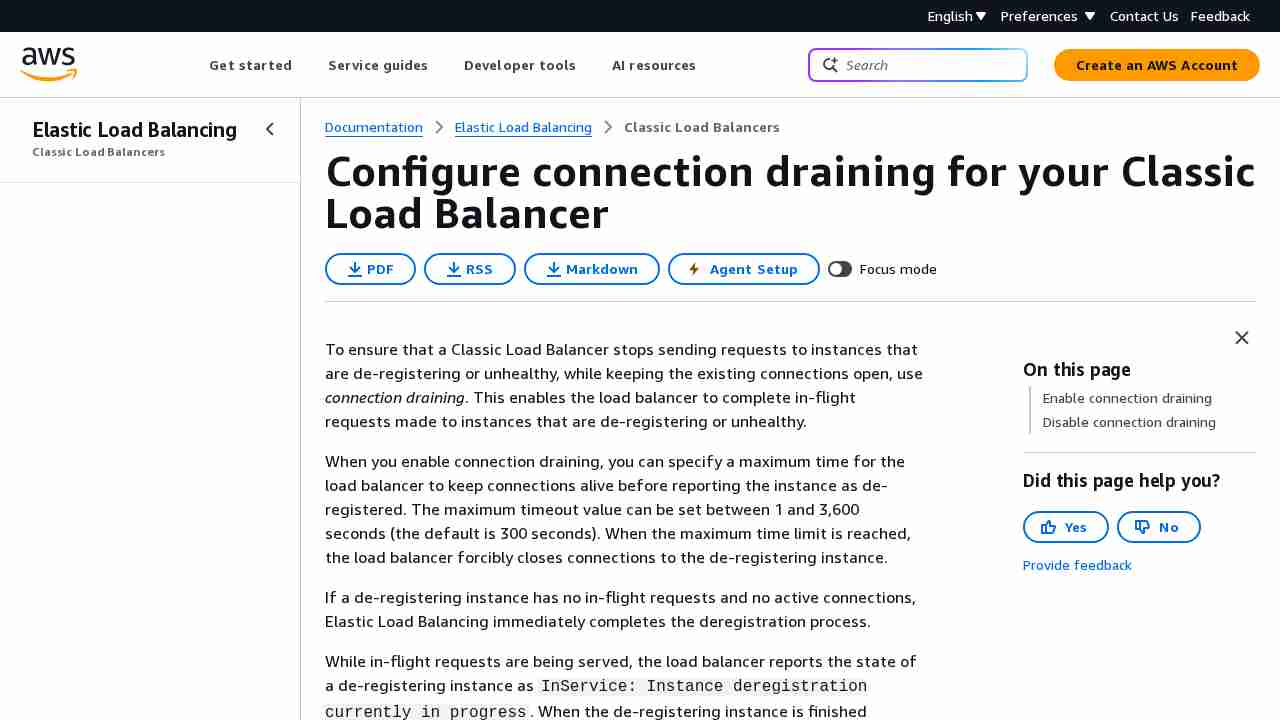
the autoscaling group can also be linked to an ELB so when EC2 are added/removed, they also are registred/deregistered from ELB
-
Note: beanstalk consistency
March 13, 2017 - permalink - https://links.infomee.fr/shaare/5sq-xQA lot of work to do..
Example : I change the autoscaling trigger in web UI interface. After a few second, my autoscaling trigger is changed (checked).
But if I save beanstalk environment configuration into a file, the change I made is not there :-(Maybe working wih UI is not the best option, but it's very convenient to test stuff without terminate/recreate env from scratch (things I have to do btw when I commit changes in files, I have to check if the behaviour is the same)
A lot of time lost, but it's the price to have reproductible environment and 'infrastructure as a code'
-
-
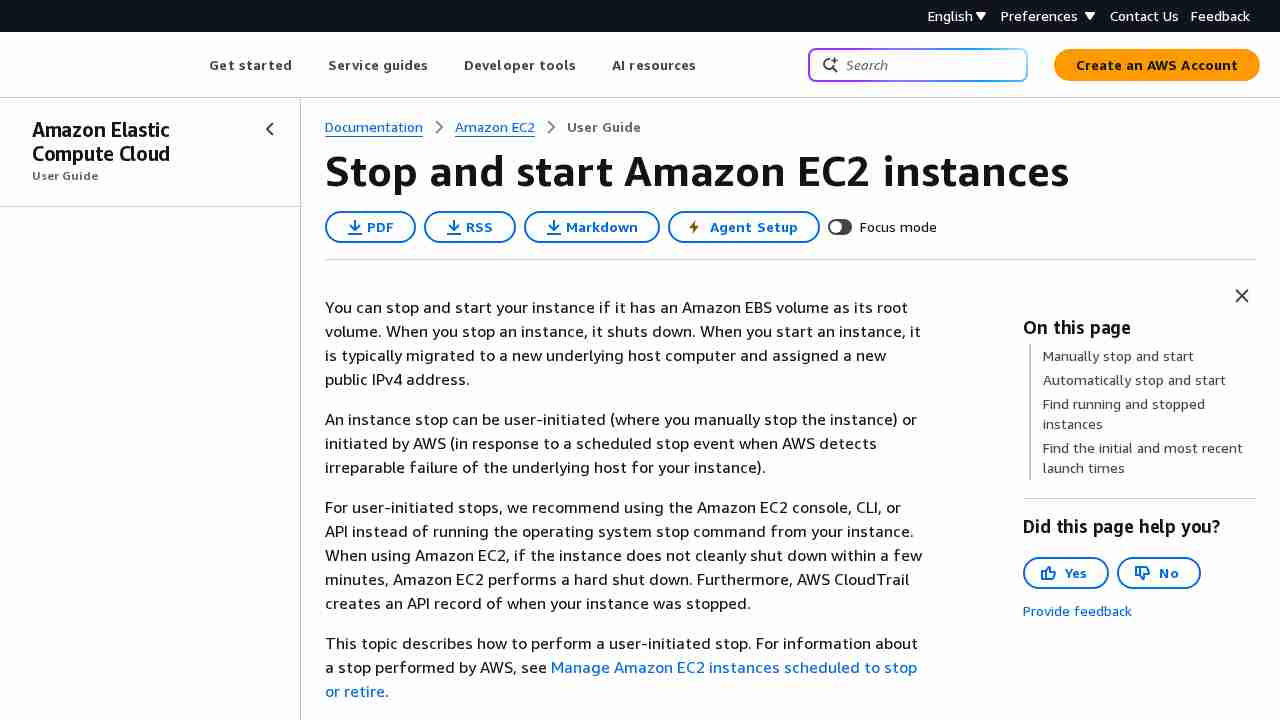
Stop and Start Your Instance - Amazon Elastic Compute Cloud
March 9, 2017 - permalink - http://docs.aws.amazon.com/AWSEC2/latest/UserGuide/Stop_Start.htmlEach time you start a stopped instance we charge a full instance hour, even if you make this transition multiple times within a single hour.
-
-
Github style diff in terminal with icdiff
March 7, 2017 - permalink - http://blog.owen.cymru/github-style-diff-in-terminal-with-icdiff/I'm happy with vimdiff (colorscheme Murphy) but why not!
-
-
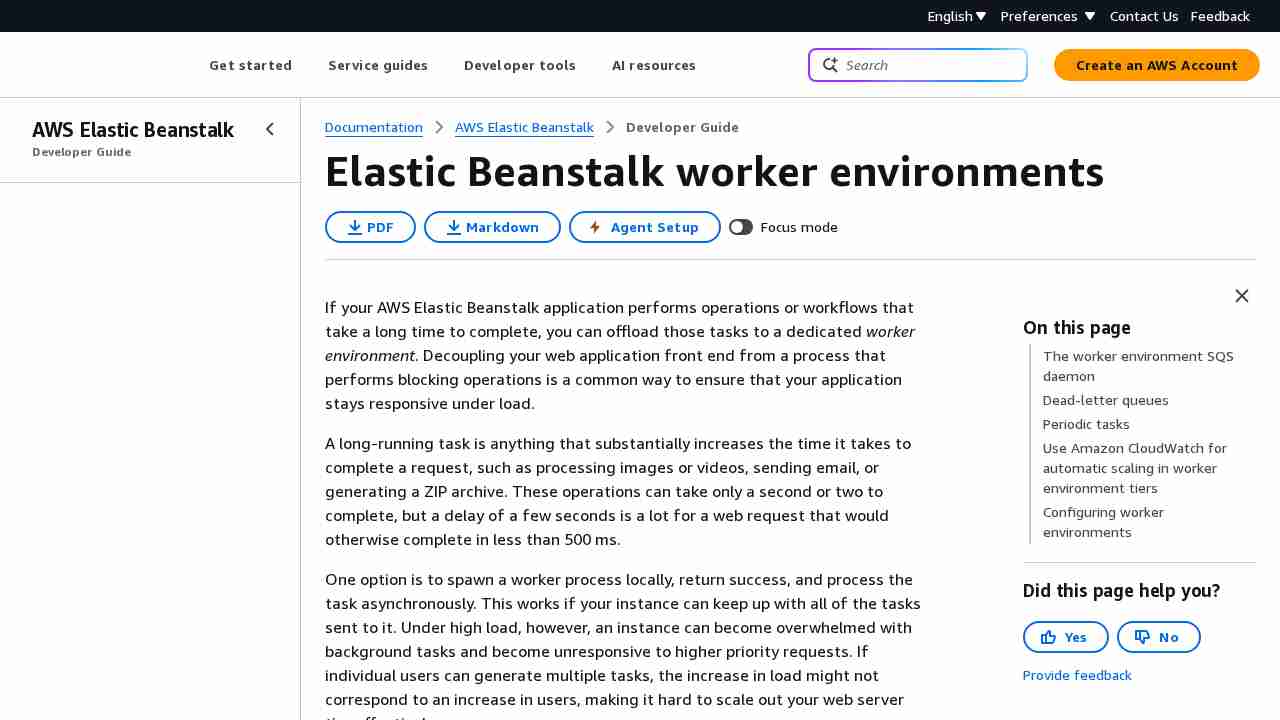
Worker Environments - AWS Elastic Beanstalk
March 2, 2017 - permalink - http://docs.aws.amazon.com/elasticbeanstalk/latest/dg/using-features-managing-env-tiers.htmlElastic Beanstalk simplifies this process by managing the Amazon SQS queue and running a daemon process on each instance that reads from the queue for you. When the daemon pulls an item from the queue, it sends an HTTP POST request locally to http://localhost/ with the contents of the queue message in the body. All that your application needs to do is perform the long-running task in response to the POST. You can configure the daemon to post to a different path, use a MIME type other than application/JSON, connect to an existing queue, or customize connections, timeouts, and retries.
-
Description détaillée d'Amazon Simple Queue Service (SQS) – Amazon Web Services (AWS)
March 2, 2017 - permalink - https://aws.amazon.com/fr/sqs/details/Cycle de vie des messages Amazon SQS
Les messages stockés dans Amazon SQS ont un cycle de vie facile à gérer, mais qui garantit le traitement de tous les messages.
Un système qui doit envoyer un message sélectionne une file d'attente Amazon SQS et utilise SendMessage pour lui envoyer un nouveau message.
Un autre système traitant des messages doit traiter plus de messages : il appelle donc ReceiveMessage, et ce message est renvoyé.
Dès lors qu'un message est renvoyé par ReceiveMessage, il ne sera pas renvoyé par une autre demande ReceiveMessage avant que le délai de visibilité ne soit expiré. Ainsi, plusieurs destinataires peuvent traiter le même message simultanément.
Si le système de traitement des messages termine avec succès le traitement de ce message, il appelle DeleteMessage, ce qui supprime le message de la file d'attente pour que personne d'autre ne le traite. Si ce système ne réussit pas à traiter le message, il sera alors lu par un autre appel ReceiveMessage dès que le délai de visibilité sera expiré.
Si vous avez associé une file d'attente de lettre morte à une file d'attente source, les messages seront déplacés vers la file d'attente de lettre morte lorsque le nombre de tentatives d'envoi que vous avez défini aura été atteint.
-
Tutorial: Todo-List Application — Bottle 0.12.13 documentation
March 2, 2017 - permalink - https://bottlepy.org/docs/stable/tutorial_app.html#server-setupRunning Bottle with a different server
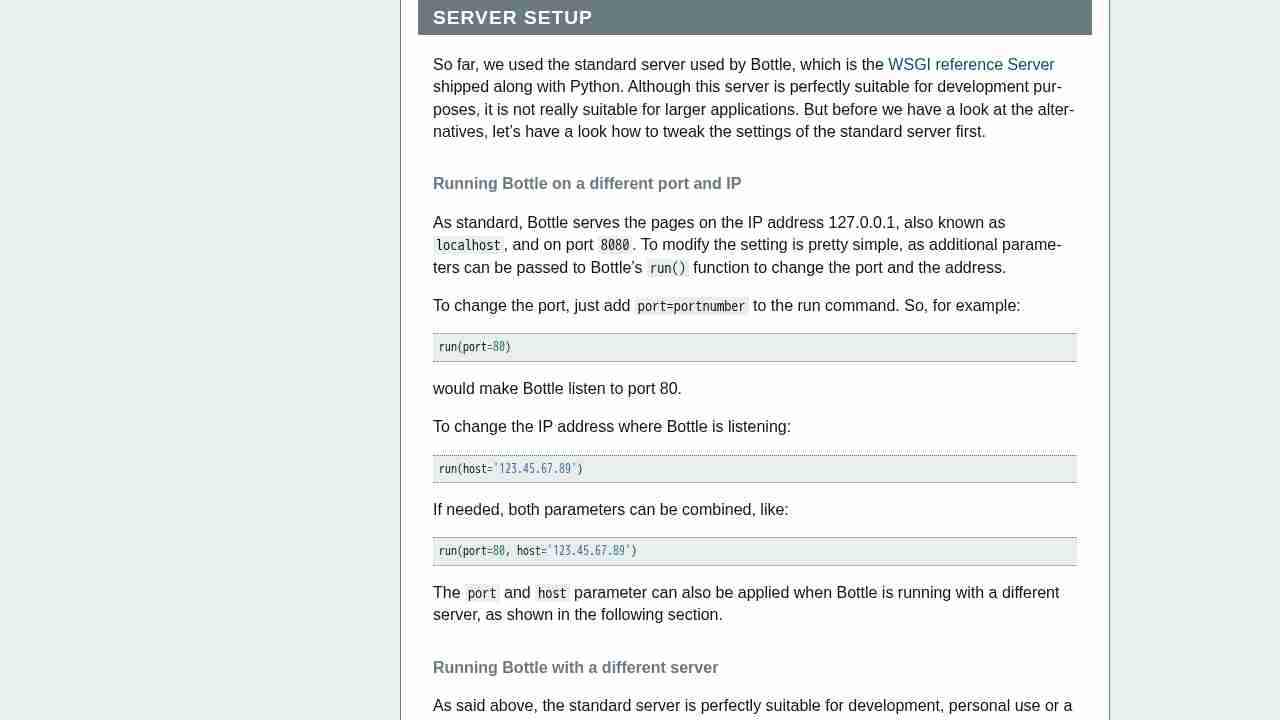
As said above, the standard server is perfectly suitable for development, personal use or a small group of people only using your application based on Bottle. For larger tasks, the standard server may become a bottleneck, as it is single-threaded, thus it can only serve one request at a time.
But Bottle has already various adapters to multi-threaded servers on board, which perform better on higher load. Bottle supports Cherrypy, Fapws3, Flup and Paste.
If you want to run for example Bottle with the Paste server, use the following code:
from bottle import PasteServer
...
run(server=PasteServer)This works exactly the same way with FlupServer, CherryPyServer and FapwsServer.
-
logging - How to log into a file for a python & bottle web server? - Stack Overflow
March 2, 2017 - permalink - http://stackoverflow.com/questions/15444695/how-to-log-into-a-file-for-a-python-bottle-web-serverimport logging
logging.basicConfig(filename='log.txt', format=logging.BASIC_FORMAT)
logging.error('OH NO!')
try:
raise Exception('Foo')
except:
logging.exception("Oops:")
-
Note: docker bug
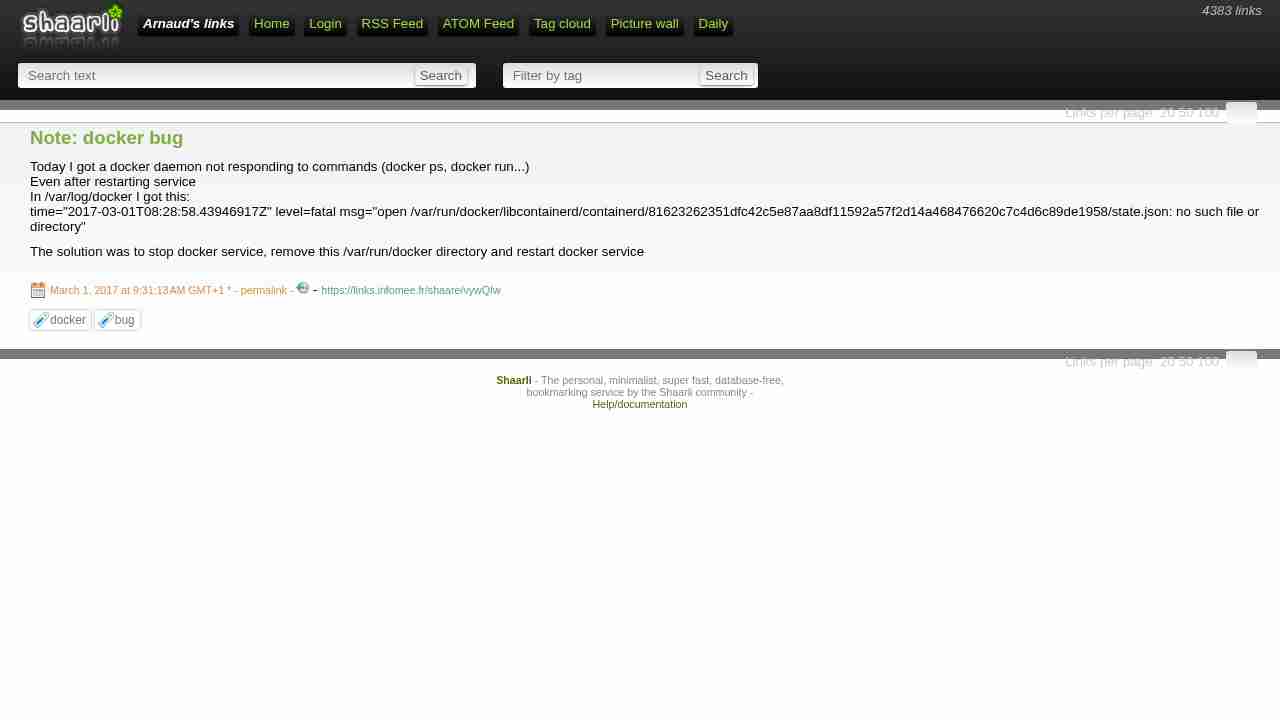
March 1, 2017 - permalink - https://links.infomee.fr/shaare/vywQIwToday I got a docker daemon not responding to commands (docker ps, docker run...)
Even after restarting service
In /var/log/docker I got this:
time="2017-03-01T08:28:58.43946917Z" level=fatal msg="open /var/run/docker/libcontainerd/containerd/81623262351dfc42c5e87aa8df11592a57f2d14a468476620c7c4d6c89de1958/state.json: no such file or directory"The solution was to stop docker service, remove this /var/run/docker directory and restart docker service
-
Scaling Based on Amazon SQS - Auto Scaling
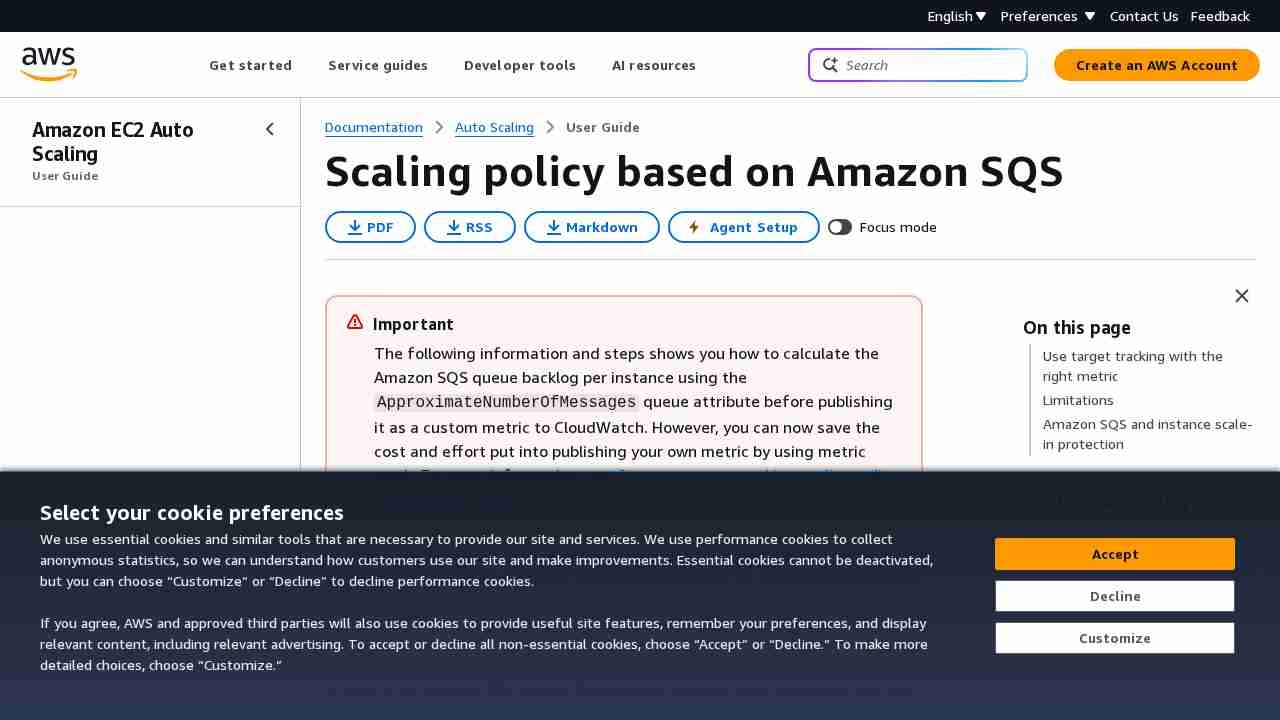
February 28, 2017 - permalink - http://docs.aws.amazon.com/autoscaling/latest/userguide/as-using-sqs-queue.htmlBeanstalk ne permet pas de définir un trigger basé sur le nombre d'éléments dans la queue SQS pour l'auto scaling des environements de type worker
Pourtant c'est possible mais il y a un peu de boulot :
- créer des scaling policies qui vont ajouter ou enlever des instances
- créer des alarmes cloudwatch qui vont se déclencher par rapport au nb d'éléments dans la queue et appeler les scaling policies..http://docs.aws.amazon.com/autoscaling/latest/userguide/as-using-sqs-queue.html
https://forums.aws.amazon.com/thread.jspa?messageID=722589On peut surement intégrer ça à beanstalk avec les .ebextensions (http://docs.aws.amazon.com/elasticbeanstalk/latest/dg/ebextensions.html)
En plus d'être un peu complexe et pas vraiment intégrer à beanstalk, ça n'a pas l'air très réactif, cet article en parle et donne une solution :
Rapid Auto Scaling with Amazon SQS : https://aws.amazon.com/blogs/aws/auto-scaling-with-sqs/
-
-
-
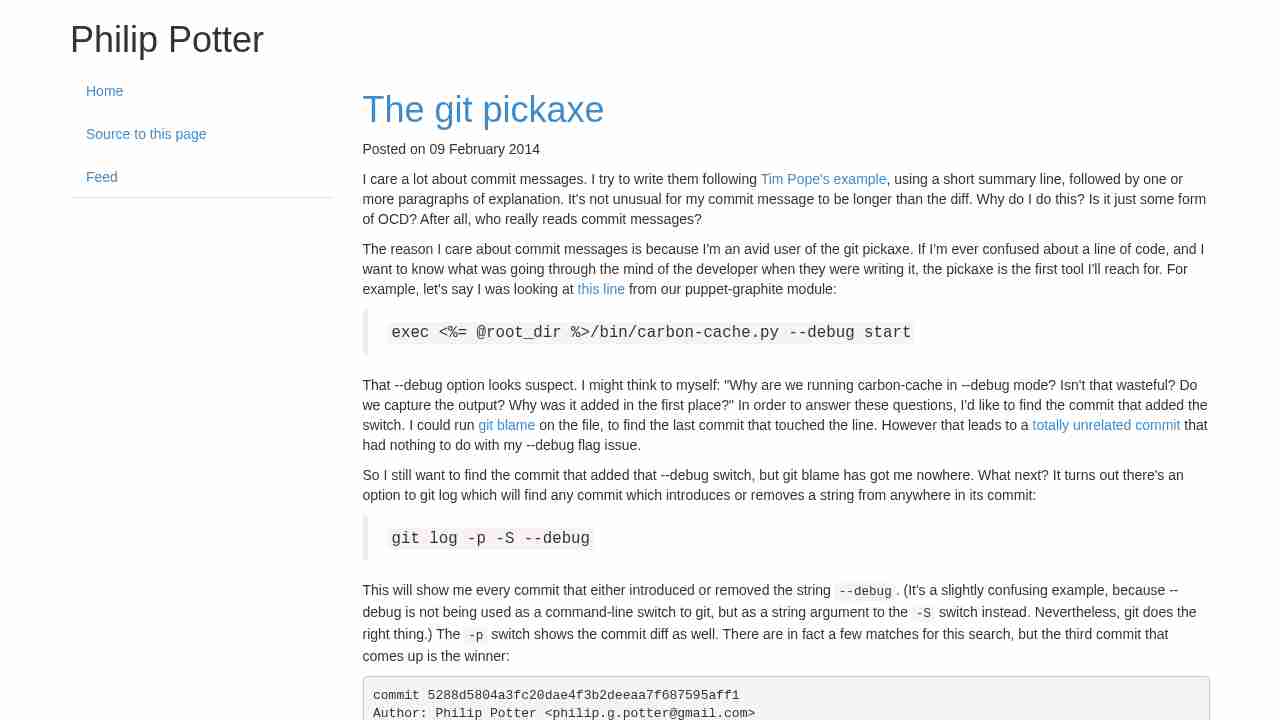
The git pickaxe
February 23, 2017 - permalink - http://www.philandstuff.com/2014/02/09/git-pickaxe.htmlOr "how to search text in git diff history"
git log -p -S "string"
-
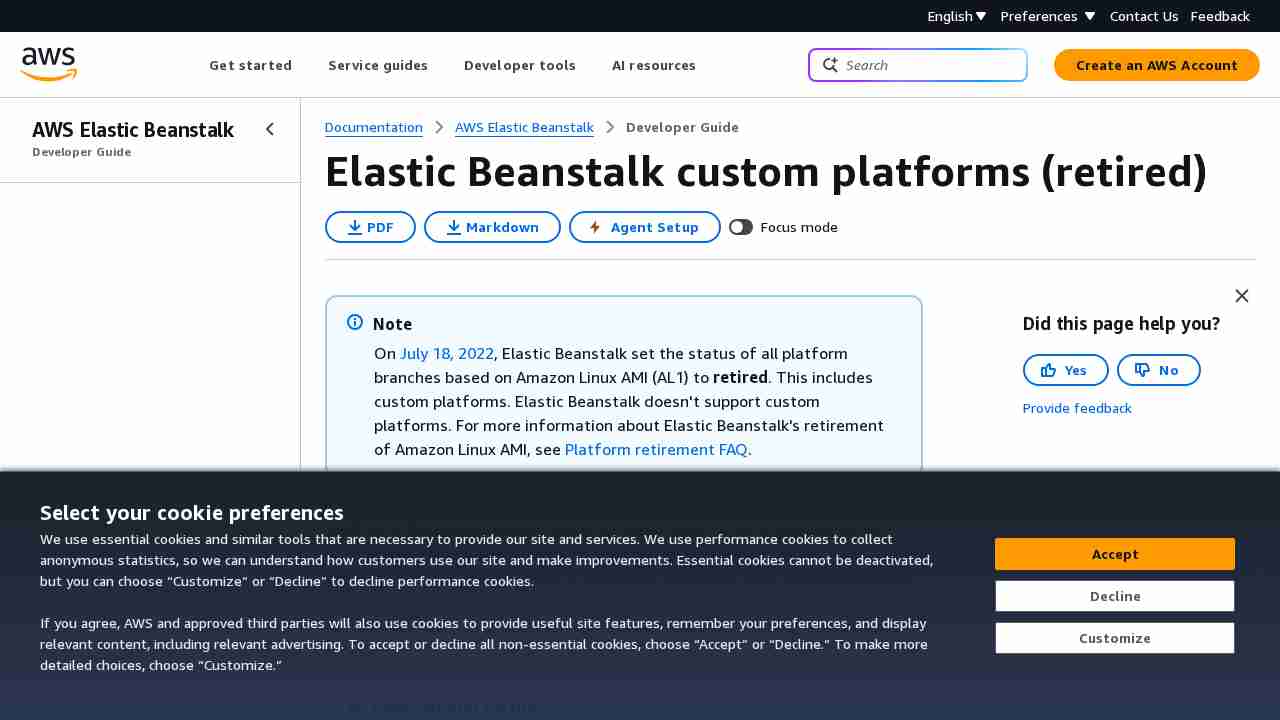
Custom Platforms - AWS Elastic Beanstalk
February 23, 2017 - permalink - http://docs.aws.amazon.com/elasticbeanstalk/latest/dg/custom-platforms.htmlDepuis hier le 22 Février 2017
seems cool and powerful
-
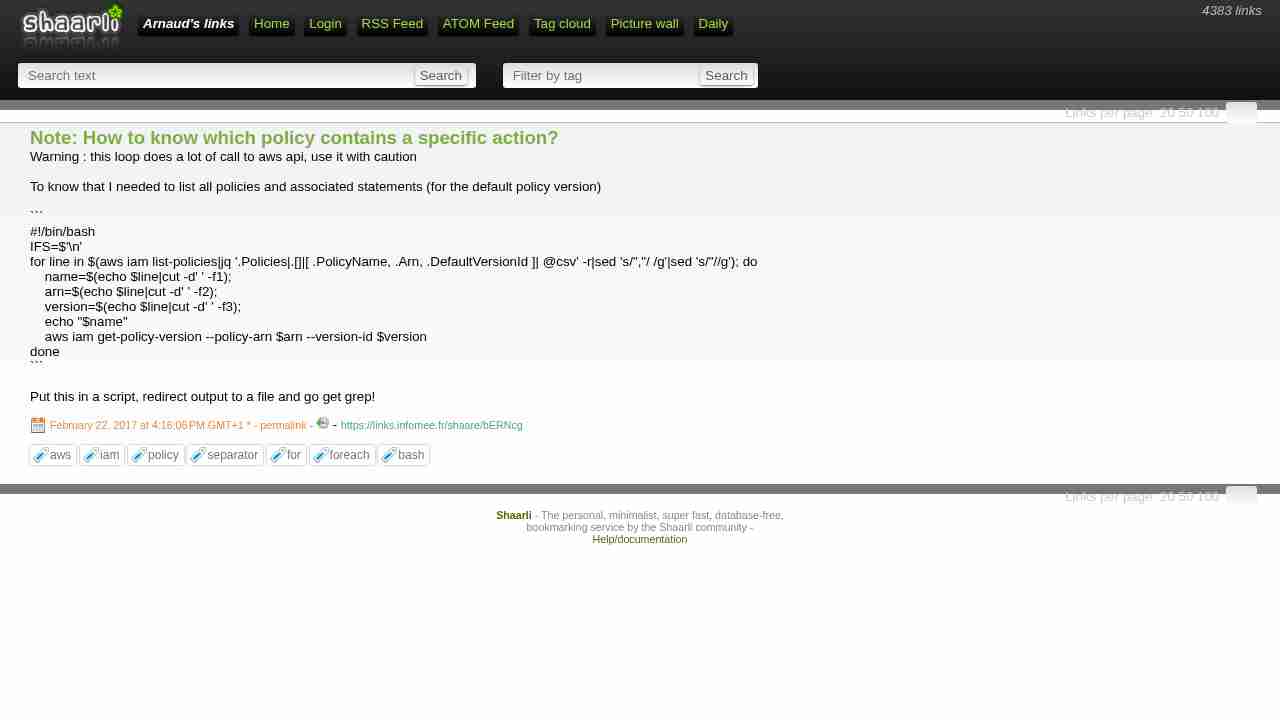
Note: How to know which policy contains a specific action?
February 22, 2017 - permalink - https://links.infomee.fr/shaare/bERNcgWarning : this loop does a lot of call to aws api, use it with caution
To know that I needed to list all policies and associated statements (for the default policy version)
#!/bin/bash
IFS=$'\n'
for line in $(aws iam list-policies|jq '.Policies|.[]|[ .PolicyName, .Arn, .DefaultVersionId ]| @csv' -r|sed 's/","/ /g'|sed 's/"//g'); do
    name=$(echo $line|cut -d' ' -f1);
    arn=$(echo $line|cut -d' ' -f2);
    version=$(echo $line|cut -d' ' -f3);
    echo "$name"
    aws iam get-policy-version --policy-arn $arn --version-id $version
done
Put this in a script, redirect output to a file and go get grep!
-
Configuring Application Version Lifecycle Settings - AWS Elastic Beanstalk
February 22, 2017 - permalink - http://docs.aws.amazon.com/elasticbeanstalk/latest/dg/applications-lifecycle.htmlSince December 22th 2016 you are able to configure application version lifecycle in Beanstalk.
Very convenient, we can trash our custom api cleaning scripts :-)
-
General Options for All Environments - AWS Elastic Beanstalk
February 20, 2017 - permalink - http://docs.aws.amazon.com/elasticbeanstalk/latest/dg/command-options-general.html#command-options-general-elblistenerDefault listener (80) is enabled by default, to disable it :
aws:elb:listener:
ListenerEnabled: false
-
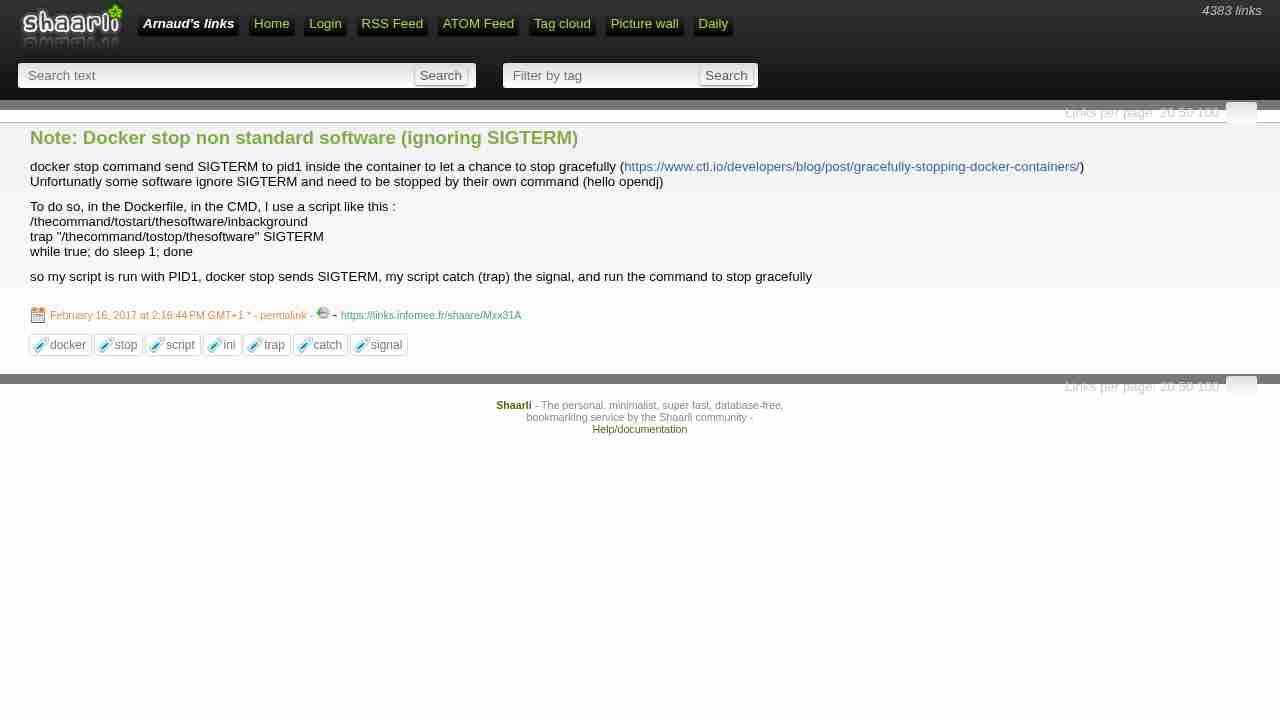
Note: Docker stop non standard software (ignoring SIGTERM)
February 16, 2017 - permalink - https://links.infomee.fr/shaare/Mxx31Adocker stop command send SIGTERM to pid1 inside the container to let a chance to stop gracefully (https://www.ctl.io/developers/blog/post/gracefully-stopping-docker-containers/)
Unfortunatly some software ignore SIGTERM and need to be stopped by their own command (hello opendj)To do so, in the Dockerfile, in the CMD, I use a script like this :
/thecommand/tostart/thesoftware/inbackground
trap "/thecommand/tostop/thesoftware" SIGTERM
while true; do sleep 1; doneso my script is run with PID1, docker stop sends SIGTERM, my script catch (trap) the signal, and run the command to stop gracefully
-
-
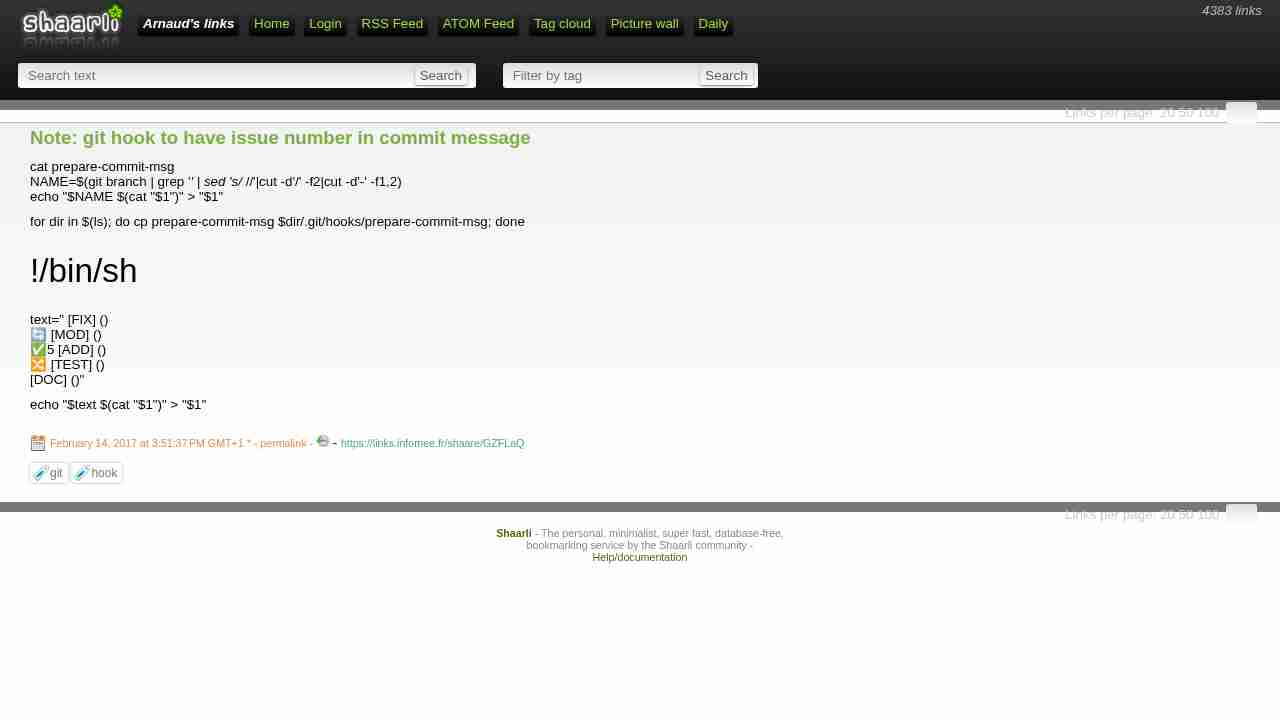
Note: git hook to have issue number in commit message
February 14, 2017 - permalink - https://links.infomee.fr/shaare/GZFLaQcat prepare-commit-msg
NAME=$(git branch | grep '' | sed 's/ //'|cut -d'/' -f2|cut -d'-' -f1,2)
echo "$NAME $(cat "$1")" > "$1"for dir in $(ls); do cp prepare-commit-msg $dir/.git/hooks/prepare-commit-msg; done
!/bin/sh
text=" [FIX] ()
🔄 [MOD] ()
✅5 [ADD] ()
🔀 [TEST] ()
[DOC] ()"echo "$text $(cat "$1")" > "$1"
-
Note:
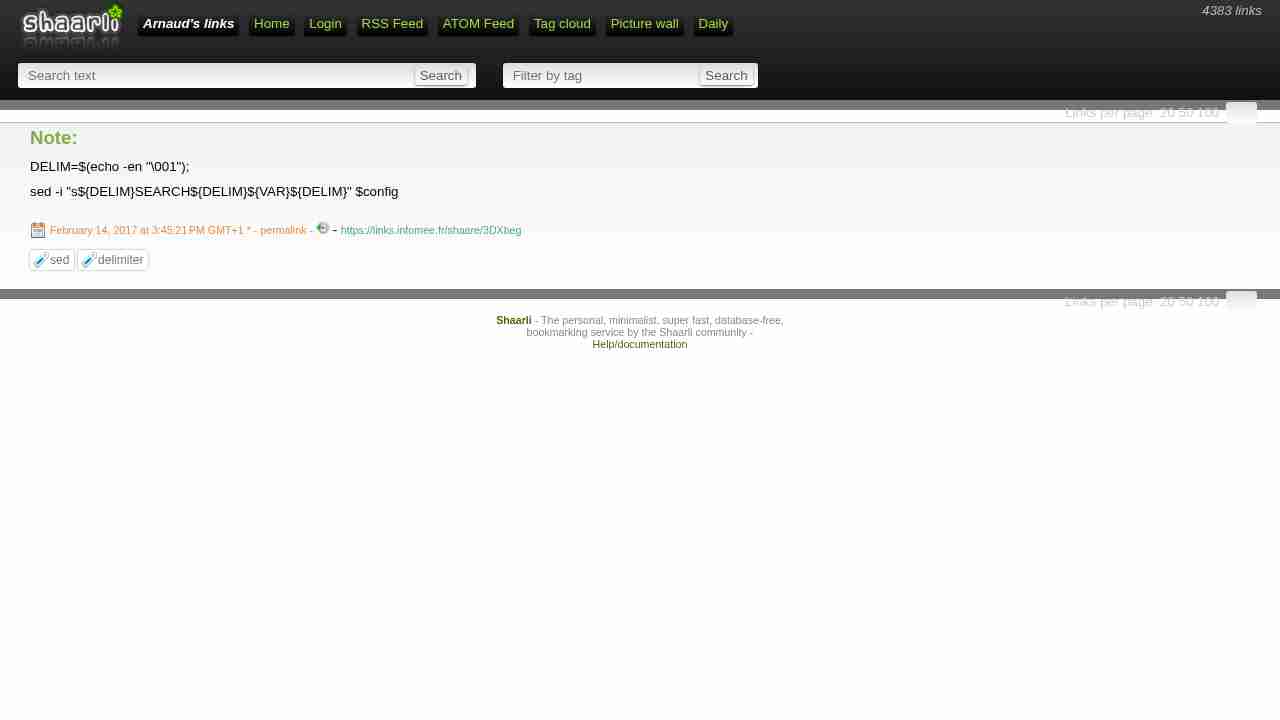
February 14, 2017 - permalink - https://links.infomee.fr/shaare/3DXbegDELIM=$(echo -en "\001");
sed -i "s${DELIM}SEARCH${DELIM}${VAR}${DELIM}" $config
-
-
Undoing a git rebase - Stack Overflow
February 13, 2017 - permalink - http://stackoverflow.com/questions/134882/undoing-a-git-rebaseThe easiest way would be to find the head commit of the branch as it was immediately before the rebase started in the reflog...
git reflog
and to reset the current branch to it (with the usual caveats about being absolutely sure before reseting with the --hard option).
Suppose the old commit was HEAD@{5} in the ref log:
git reset --hard HEAD@{5}
-
GitHub - jamesrwhite/minicron: Monitor your cron jobs 👨🏻💻
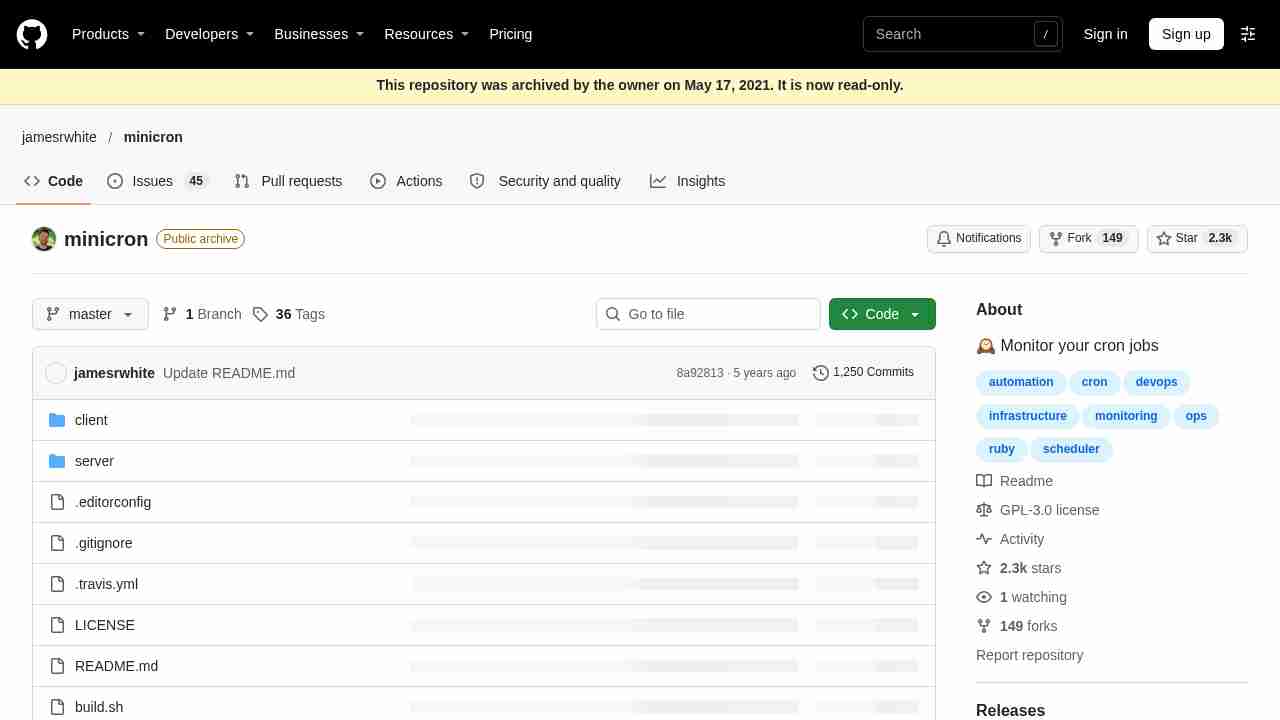
February 10, 2017 - permalink - https://github.com/jamesrwhite/minicronPour avoir une vue globale des crins qui tournent sur différents serveurs
-
library/buildpack-deps - Docker Hub
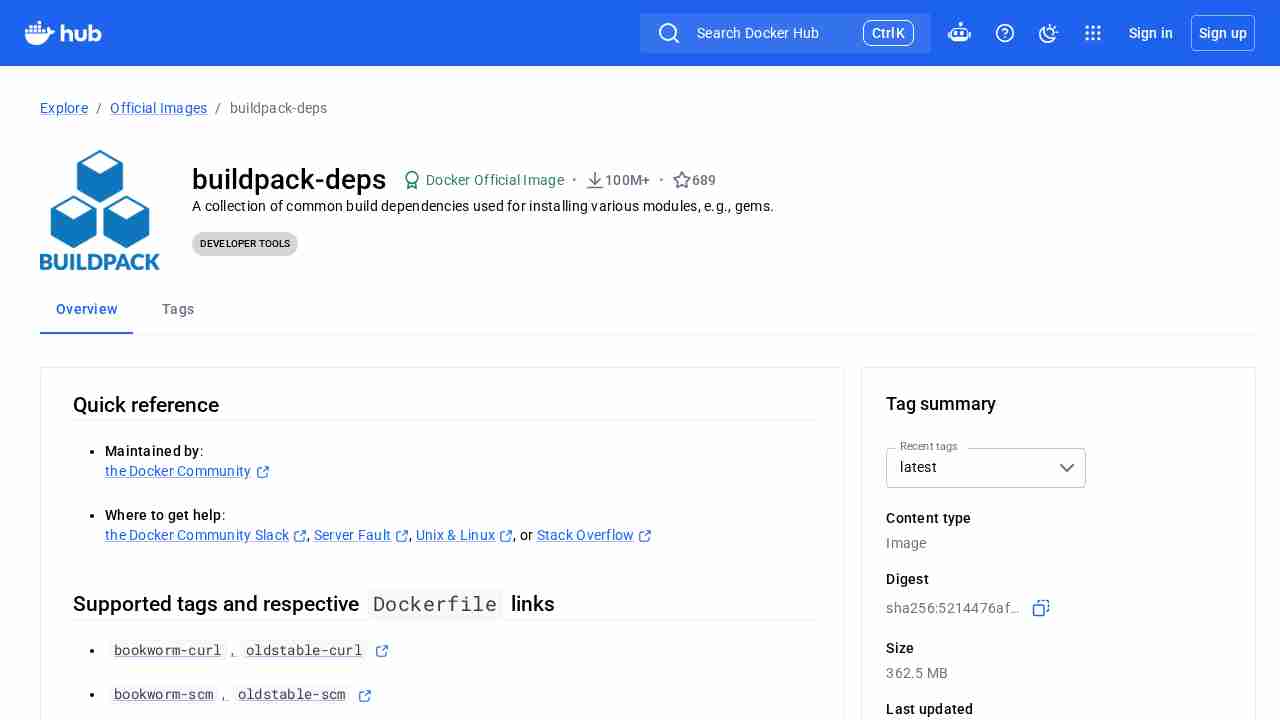
February 10, 2017 - permalink - https://hub.docker.com/_/buildpack-deps/TIL what is this offical repository :
Only debian with some useful package to build dependencies (needed when you install some gem for example)
For example ruby:2.3 Dockerfile use a buildpack-deps image
-
Note: EC2 metadata
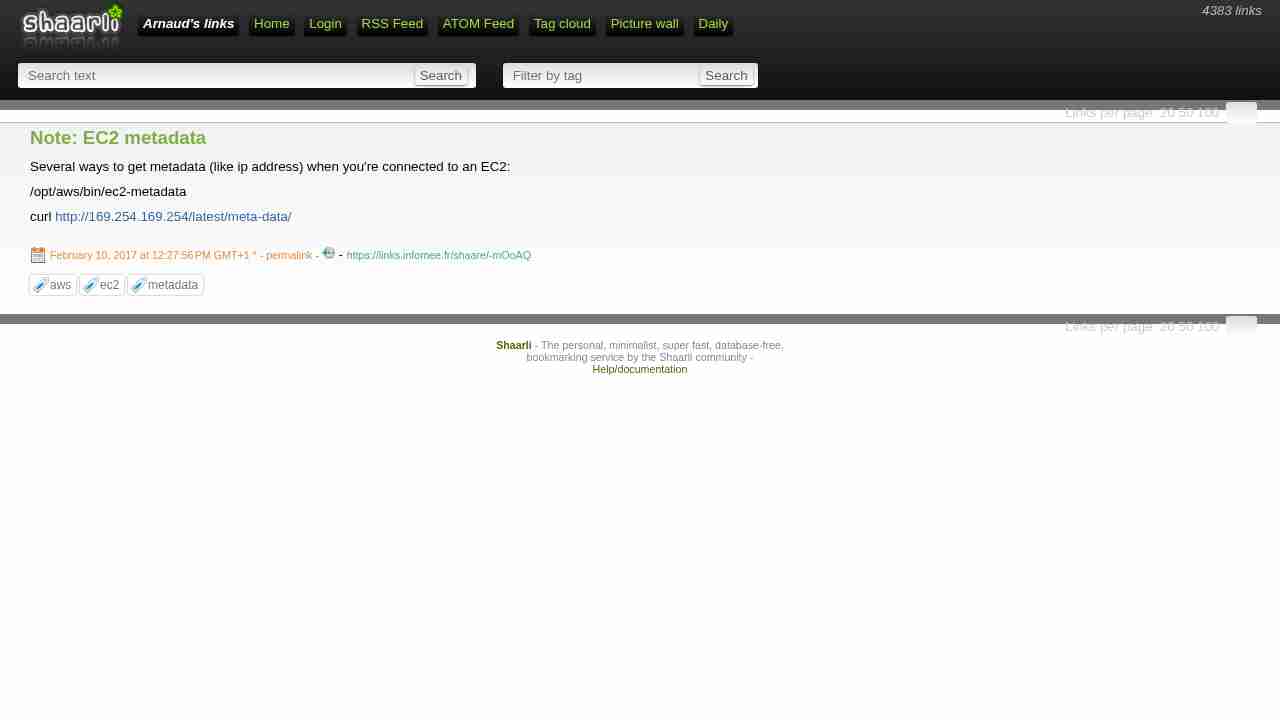
February 10, 2017 - permalink - https://links.infomee.fr/shaare/-mOoAQSeveral ways to get metadata (like ip address) when you're connected to an EC2:
/opt/aws/bin/ec2-metadata
-
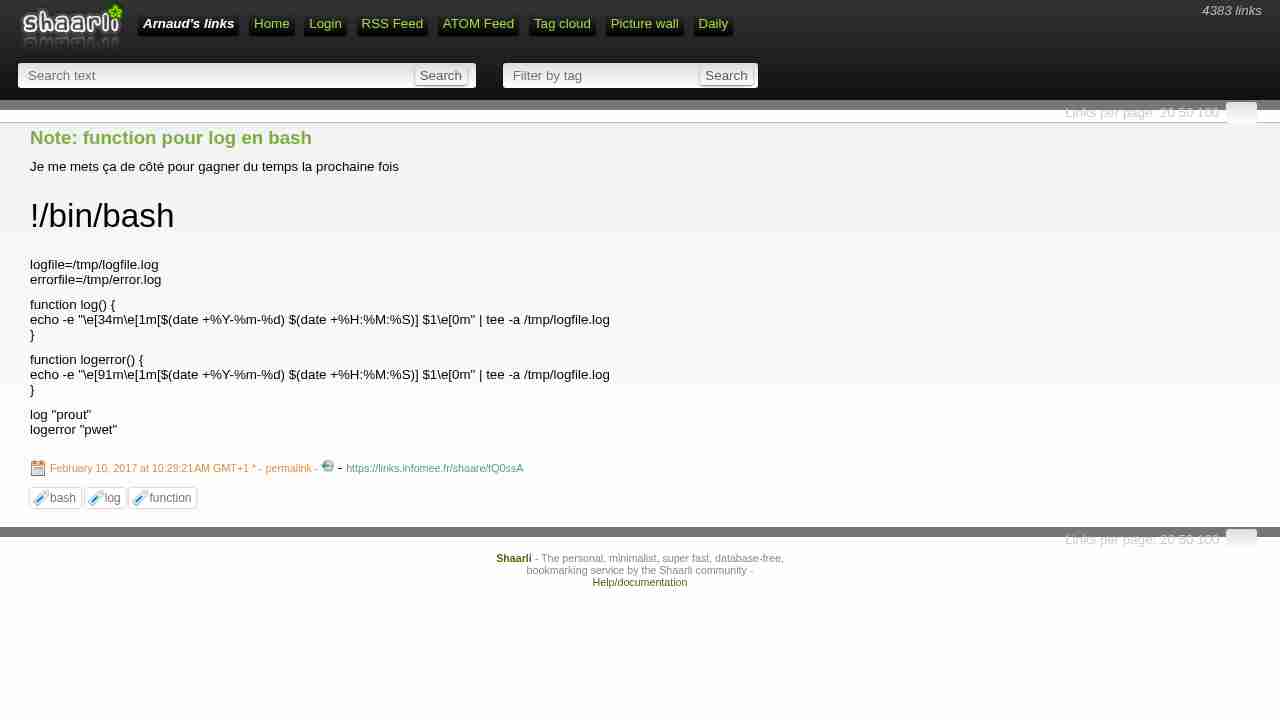
Note: function pour log en bash
February 10, 2017 - permalink - https://links.infomee.fr/shaare/tQ0ssAJe me mets ça de côté pour gagner du temps la prochaine fois
!/bin/bash
logfile=/tmp/logfile.log
errorfile=/tmp/error.logfunction log() {
echo -e "\e[34m\e[1m[$(date +%Y-%m-%d) $(date +%H:%M:%S)] $1\e[0m" | tee -a /tmp/logfile.log
}function logerror() {
echo -e "\e[91m\e[1m[$(date +%Y-%m-%d) $(date +%H:%M:%S)] $1\e[0m" | tee -a /tmp/logfile.log
}log "prout"
logerror "pwet"
-
-
-
-
How do I measure request and response times at once using cURL? - Stack Overflow
February 8, 2017 - permalink - http://stackoverflow.com/questions/18215389/how-do-i-measure-request-and-response-times-at-once-using-curlCreate a new file, curl-format.txt, and paste in:
time_namelookup:  %{time_namelookup}\n
   time_connect:  %{time_connect}\n
time_appconnect:  %{time_appconnect}\n
time_pretransfer: %{time_pretransfer}\n
time_redirect: %{time_redirect}\n
time_starttransfer: %{time_starttransfer}\n
----------\n
time_total: %{time_total}\nMake a request:
curl -w "@curl-format.txt" -o /dev/null -s "http://wordpress.com/"
-
-
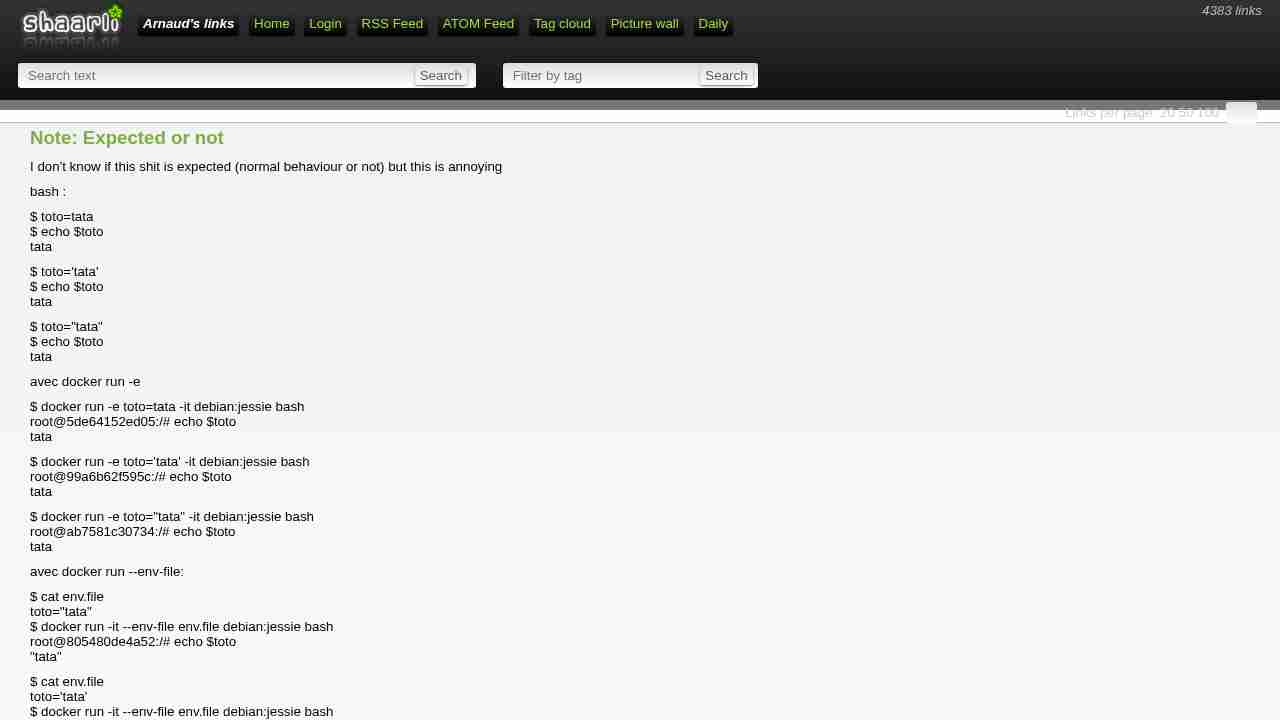
Note: Expected or not
February 2, 2017 - permalink - https://links.infomee.fr/shaare/lXfuBgI don't know if this shit is expected (normal behaviour or not) but this is annoying
bash :
$ toto=tata
$ echo $toto
tata$ toto='tata'
$ echo $toto
tata$ toto="tata"
$ echo $toto
tataavec docker run -e
$ docker run -e toto=tata -it debian:jessie bash
root@5de64152ed05:/# echo $toto
tata$ docker run -e toto='tata' -it debian:jessie bash
root@99a6b62f595c:/# echo $toto
tata$ docker run -e toto="tata" -it debian:jessie bash
root@ab7581c30734:/# echo $toto
tataavec docker run --env-file:
$ cat env.file
toto="tata"
$ docker run -it --env-file env.file debian:jessie bash
root@805480de4a52:/# echo $toto
"tata"$ cat env.file
toto='tata'
$ docker run -it --env-file env.file debian:jessie bash
root@004b88cc448d:/# echo $toto
'tata'$ cat env.file
toto=tata
$ docker run -it --env-file env.file debian:jessie bash
root@2ca9908d1cdf:/# echo $toto
tataavec docker compose:
$ cat docker-compose.yml
version: '2'
services:
foo:
image: debian:jessie
container_name: foo
environment:
- toto1=tata
- toto2="tata"
- toto3='tata'
command: tail -f /var/log/dmesgdocker-compose up -d
docker exec -it foo bashroot@71a9a886cc24:/# echo $toto1
tata
root@71a9a886cc24:/# echo $toto2
"tata"
root@71a9a886cc24:/# echo $toto3
'tata'
-
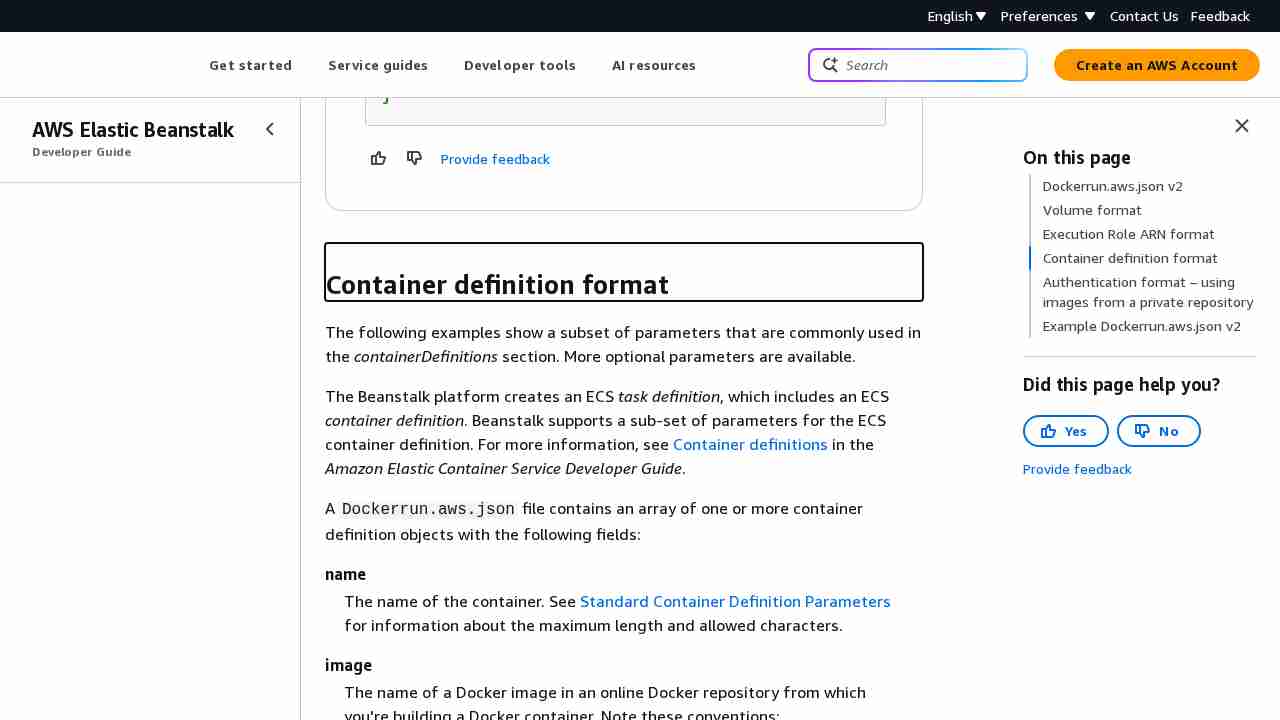
Multicontainer Docker Configuration - AWS Elastic Beanstalk
February 2, 2017 - permalink - http://docs.aws.amazon.com/elasticbeanstalk/latest/dg/create_deploy_docker_v2config.html#create_deploy_docker_v2config_dockerrun_formatTIL
Beanstalk is a little bit... magic. Dunno yet if its good or not :
Elastic Beanstalk creates log volumes on the container instance, one for each container, at /var/log/containers/containername. These volumes are named awseb-logs-containername and should be mounted to the location within the container file structure where logs are written.
For example, the following mount point maps the nginx log location in the container to the Elastic Beanstalk–generated volume for the nginx-proxy container.
{
"sourceVolume": "awseb-logs-nginx-proxy",
"containerPath": "/var/log/nginx"
}And all this logs can be copied into s3 automagically: http://docs.aws.amazon.com/elasticbeanstalk/latest/dg/command-options-general.html#command-options-general-elasticbeanstalkhostmanager
-
Lenovo est de retour avec de nouveaux ThinkPad
January 31, 2017 - permalink - http://www.fredzone.org/lenovo-est-de-retour-avec-de-nouveaux-thinkpad-003Via Doo
20h d'autonomie annoncée pour celui là :
Lenovo ThinkPad X270Le Lenovo ThinkPad X270 est conçu pour durer. Grâce à sa batterie, il pourra en effet tenir pas moins de 20 heures avec une seule charge. Son châssis a aussi été renforcé pour lui permettre de résister aux chocs.
Plusieurs configurations seront proposées. L’écran de 12,5 pouces pourra aussi afficher du 720p ou du 1080p. Derrière, on pourra opter pour des Intel Core iX couplés à un maximum de 16 Go de RAM. Côté stockage, Lenovo proposera des disques à plateau (2 To max) ou du SSD (512 Go max). Il faudra cependant se contenter d’un GPU intégré.
Le prix sera fixé à 949 $ pour le modèle de base.
-
Docker 1.13
January 30, 2017 - permalink - https://blog.docker.com/2017/01/whats-new-in-docker-1-13/Sympa les petites nouveautés!
docker system df
docker system pruneCLI restructured <3
Improved CLI backwards compatibility <3
-
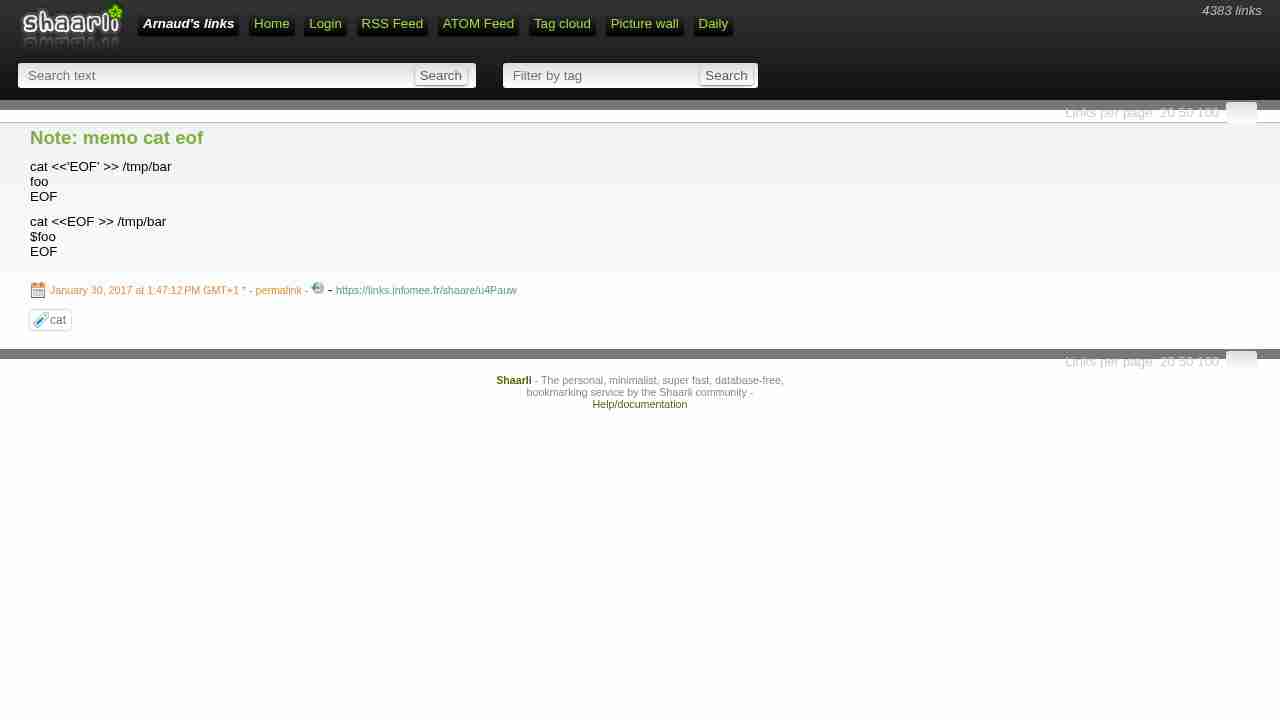
Note: memo cat eof
January 30, 2017 - permalink - https://links.infomee.fr/shaare/u4Pauwcat <<'EOF' >> /tmp/bar
foo
EOFcat <> /tmp/bar
$foo
EOF
-
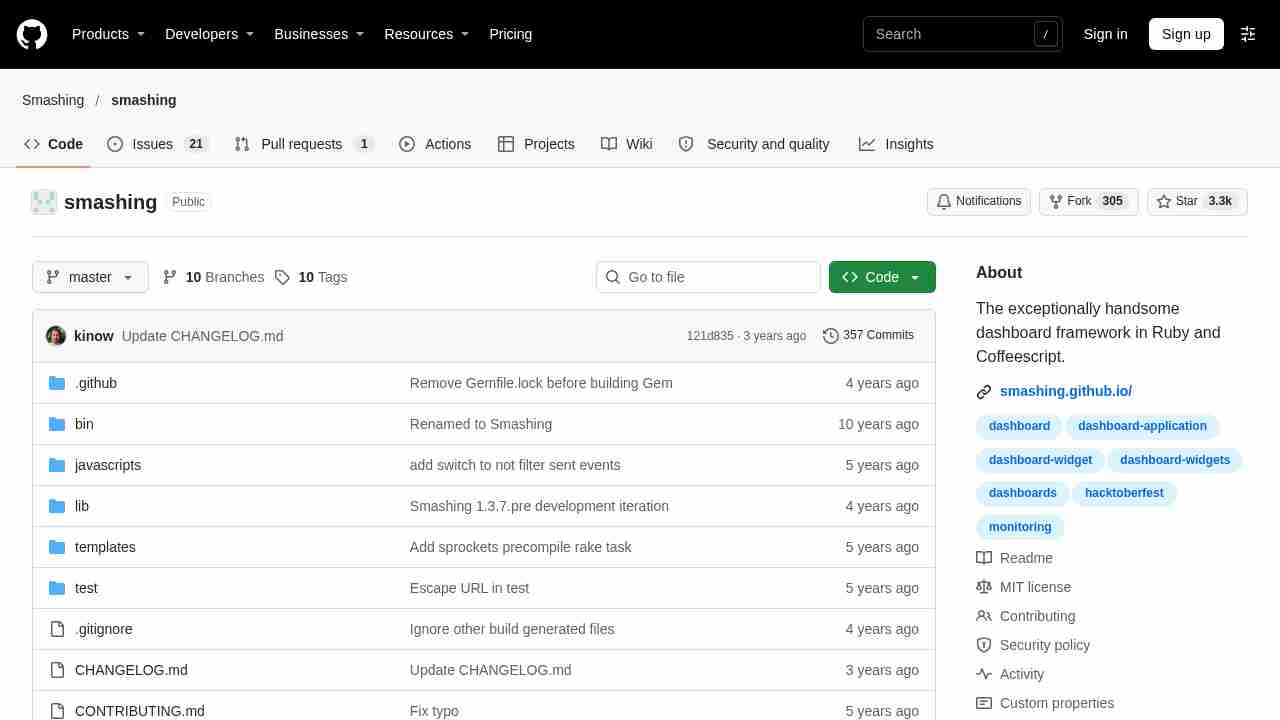
GitHub - Smashing/smashing: The exceptionally handsome dashboard framework in Ruby and Coffeescript.
January 25, 2017 - permalink - https://github.com/Smashing/smashingDashing n'est plus maintenu, voici son fork, Smashing!
-
Releases · docker/compose 1.10
January 23, 2017 - permalink - https://github.com/docker/compose/releasesCompose file version 2.1 and up
Healthcheck configuration can now be done in the service definition using
the healthcheck parameter
Containers dependencies can now be set up to wait on positive healthchecks
when declared using depends_on. See the documentation for the updated
syntax.
-