-
-
-
-
API failures Error Messages - Amazon Elastic Container Service
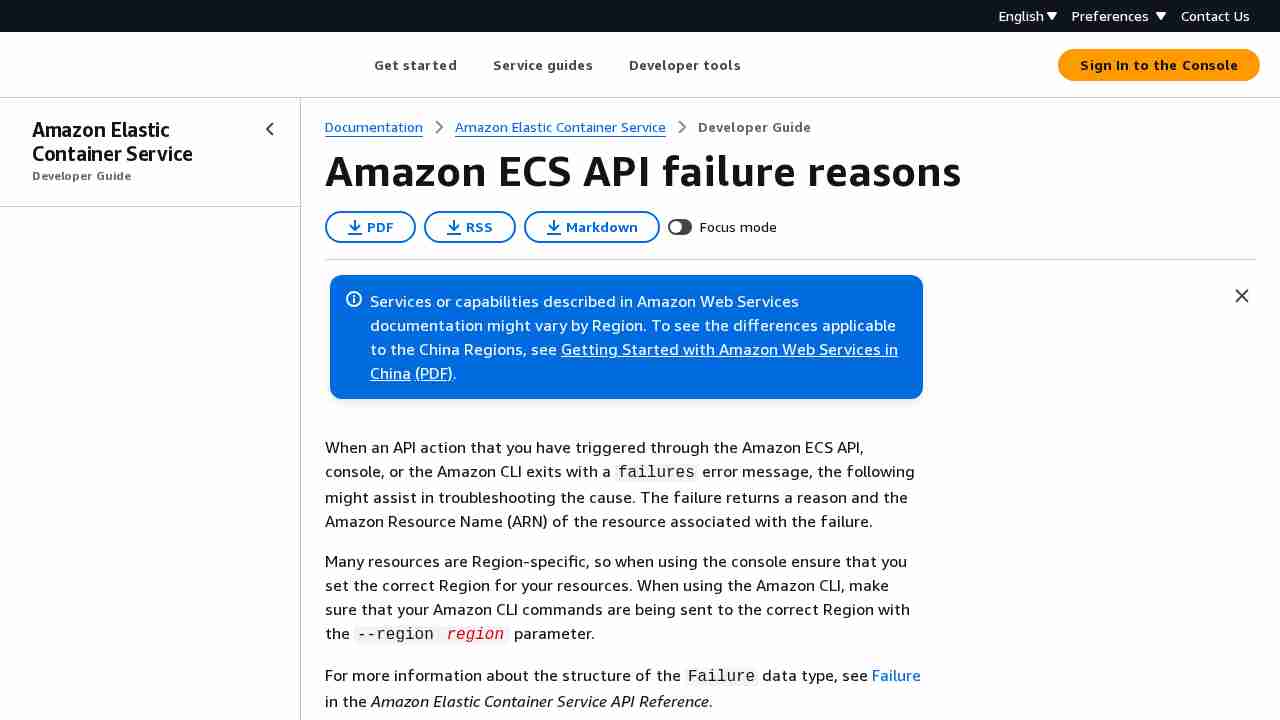
August 21, 2019 - permalink - https://docs.amazonaws.cn/en_us/AmazonECS/latest/developerguide/api_failures_messages.htmlYour task definition contains a parameter that requires a specific container instance attribute that is not available on your container instances. For example, if your task uses the awsvpc network mode, but there are no instances in your specified subnets with the ecs.capability.task-eni attribute. For more information about which attributes are required for specific task definition parameters and agent configuration variables, see Task Definition Parameters and Amazon ECS Container Agent Configuration.
-
-
-
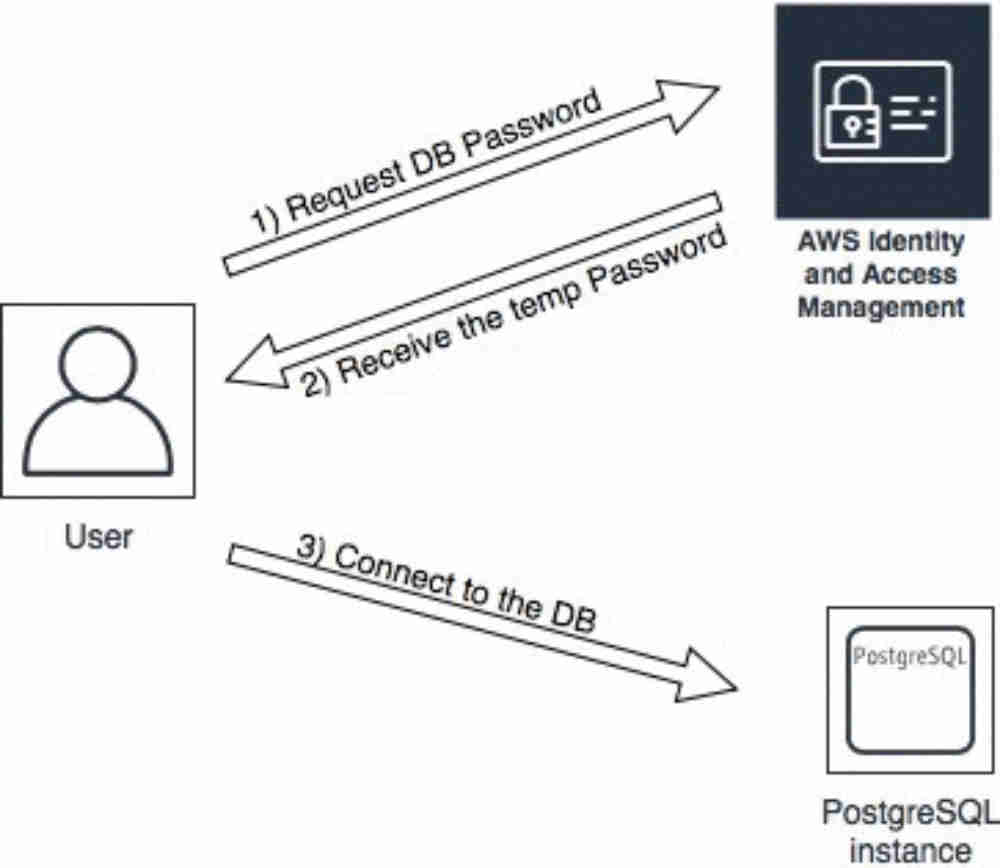
Managing PostgreSQL users and roles | AWS Database Blog
August 3, 2019 - permalink - https://aws.amazon.com/fr/blogs/database/managing-postgresql-users-and-roles/A faire en superuser:
-- Revoke privileges from 'public' role
REVOKE CREATE ON SCHEMA public FROM PUBLIC;
REVOKE ALL ON DATABASE mydatabase FROM PUBLIC;-- Create schema
CREATE SCHEMA myschema-- Read-only role
CREATE ROLE readonly;
GRANT CONNECT ON DATABASE mydatabase TO readonly;
GRANT USAGE ON SCHEMA myschema TO readonly;
GRANT SELECT ON ALL TABLES IN SCHEMA myschema TO readonly;
ALTER DEFAULT PRIVILEGES IN SCHEMA myschema GRANT SELECT ON TABLES TO readonly;-- Read/write role
CREATE ROLE readwrite;
GRANT CONNECT ON DATABASE mydatabase TO readwrite;
GRANT USAGE, CREATE ON SCHEMA myschema TO readwrite;
GRANT SELECT, INSERT, UPDATE, DELETE ON ALL TABLES IN SCHEMA myschema TO readwrite;
ALTER DEFAULT PRIVILEGES IN SCHEMA myschema GRANT SELECT, INSERT, UPDATE, DELETE ON TABLES TO readwrite;
GRANT USAGE ON ALL SEQUENCES IN SCHEMA myschema TO readwrite;
ALTER DEFAULT PRIVILEGES IN SCHEMA myschema GRANT USAGE ON SEQUENCES TO readwrite;-- Users creation
CREATE USER reporting_user1 WITH PASSWORD 'some_secret_passwd';
CREATE USER reporting_user2 WITH PASSWORD 'some_secret_passwd';
CREATE USER app_user1 WITH PASSWORD 'some_secret_passwd';
CREATE USER app_user2 WITH PASSWORD 'some_secret_passwd';-- Grant privileges to users
GRANT readonly TO reporting_user1;
GRANT readonly TO reporting_user2;
GRANT readwrite TO app_user1;
GRANT readwrite TO app_user2;
-
AWS Fargate Pricing Calculator
July 23, 2019 - permalink - http://fargate-pricing-calculator.site.s3-website-us-east-1.amazonaws.com/0,25 vCPU + 0,5GB = 9,010$ (1 month)
-
-
-
-
-
-
-
-
-
-
Note: EKS max pods by EC2
February 24, 2019 - permalink - https://links.infomee.fr/shaare/j-DVoQLe nombre de pods par worker node dépend du type d'EC2 utilisé qui détermine combien d'interfaces secondaires on a à notre disposition et de combien d'ips sur chaque interfaces on peut allouer.
Exemple avec une t2.small, on a 2 interfaces secondaires et sur chacune on peut allouer 4 ips. On peut donc lancer 8 pods maximum sur une t2.small
Il faut aussi savoir qu'un cluster EKS va faire tourner de base quelques pods :
- un deployment pour coredns avec un replicaset=2 par défaut
- un daemonset spécifique à aws (awsnode)
- un daemonset pour le kubeproxyCe qui équivaut à 2 pods occupés sur chaque worker node (à cause des deux daemonset) et 2 pod supplémentaire lancé sur la totalité du cluster (pour coredns).
Il faut aussi compter un pod pour le dashboard, un pod pour le metrics-server et surement 2 pods pour l'external-dns, sans compter les ingress
Tout ça pour dire que ce n'est pas facile d'avoir un "petit" cluster EKS : on va vite être limité par le nombre d'ip qui est assez faible sur les EC2 les plus modestes et on va vite être obligé de lancer des EC2 supplémentaire juste pour avoir des ip
-
-
-
-
-
-
-
-
-
-
-
-
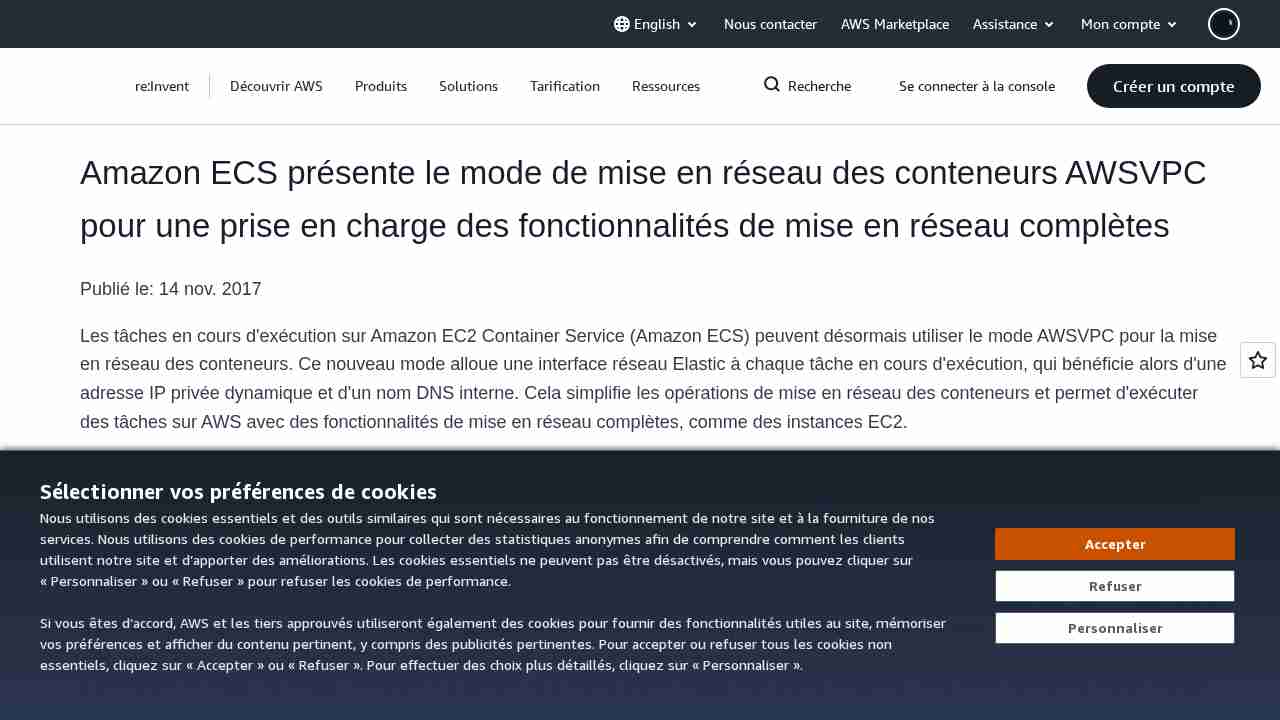
Amazon ECS présente le mode de mise en réseau des conteneurs AWSVPC pour une prise en charge des fonctionnalités de mise en réseau complètes
November 17, 2017 - permalink - https://aws.amazon.com/fr/about-aws/whats-new/2017/11/amazon-ecs-introduces-awsvpc-networking-mode-for-containers-to-support-full-networking-capabilities/
-
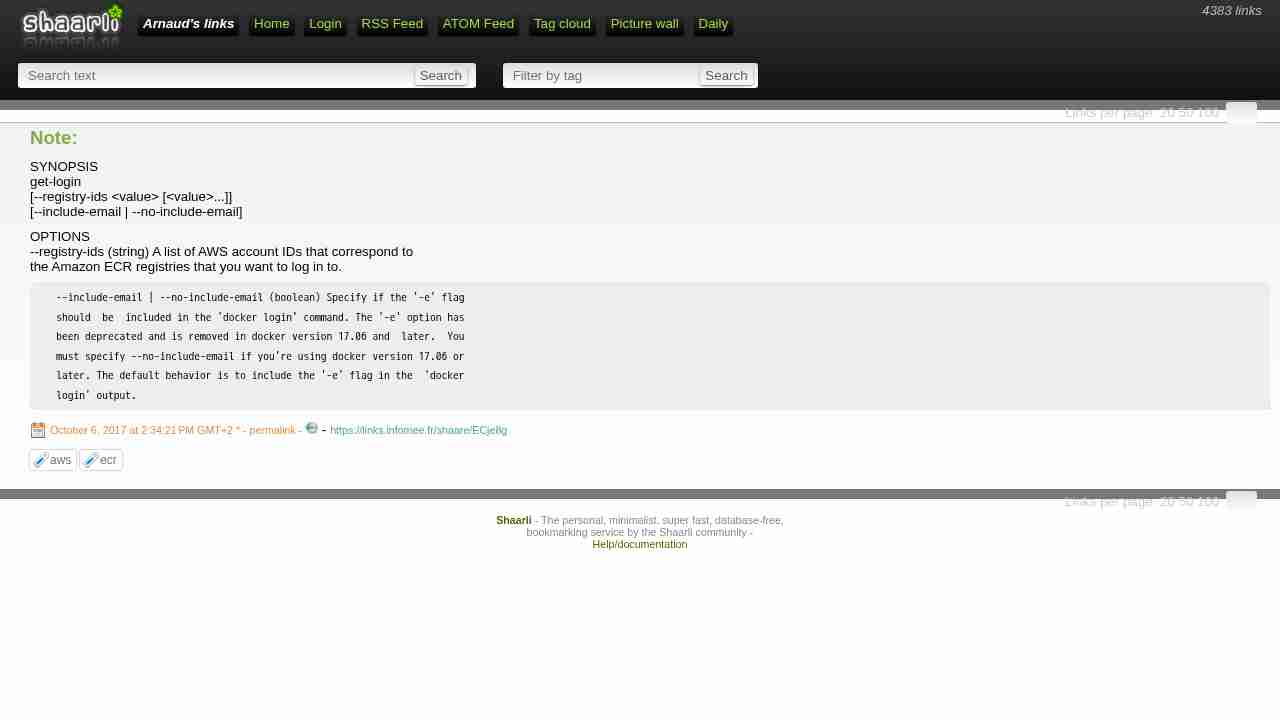
Note:
October 6, 2017 - permalink - https://links.infomee.fr/shaare/ECje8gSYNOPSIS
get-login
[--registry-ids [...]]
[--include-email | --no-include-email]OPTIONS
--registry-ids (string) A list of AWS account IDs that correspond to
the Amazon ECR registries that you want to log in to.--include-email | --no-include-email (boolean) Specify if the '-e' flag should be included in the 'docker login' command. The '-e' option has been deprecated and is removed in docker version 17.06 and later. You must specify --no-include-email if you're using docker version 17.06 or later. The default behavior is to include the '-e' flag in the 'docker login' output.
-
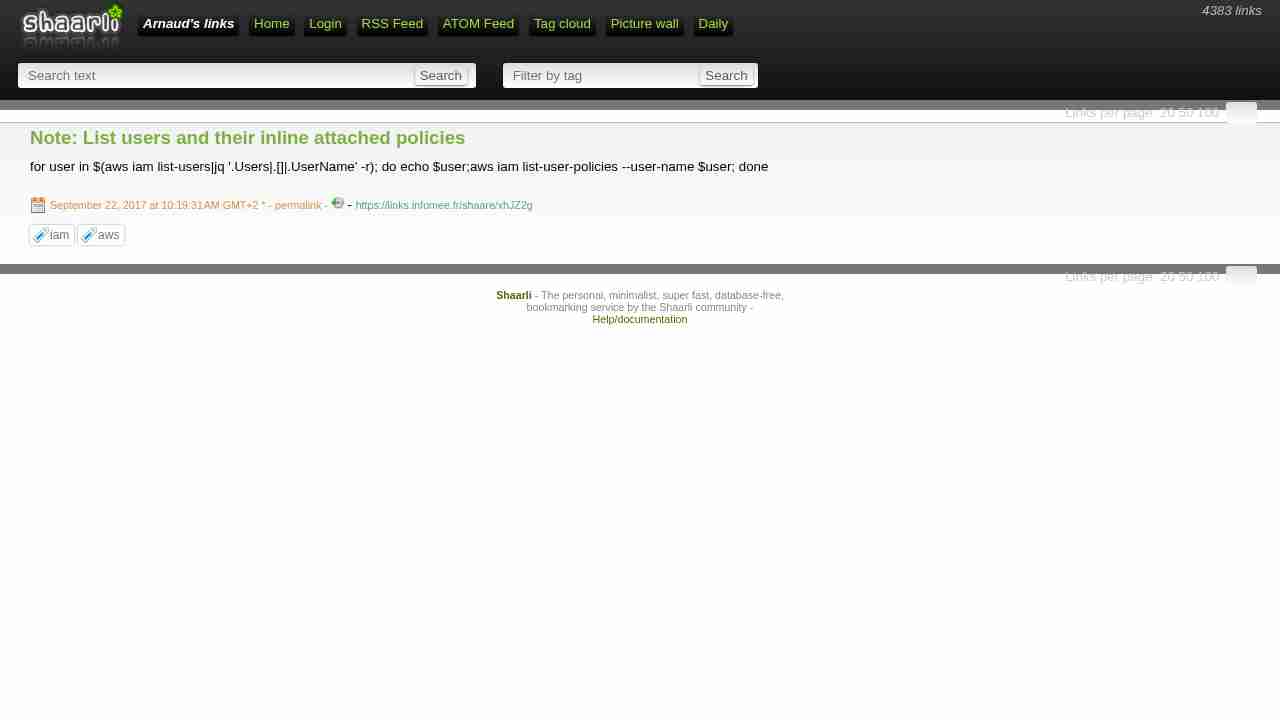
Note: List users and their inline attached policies
September 22, 2017 - permalink - https://links.infomee.fr/shaare/xhJZ2gfor user in $(aws iam list-users|jq '.Users|.[]|.UserName' -r); do echo $user;aws iam list-user-policies --user-name $user; done
-
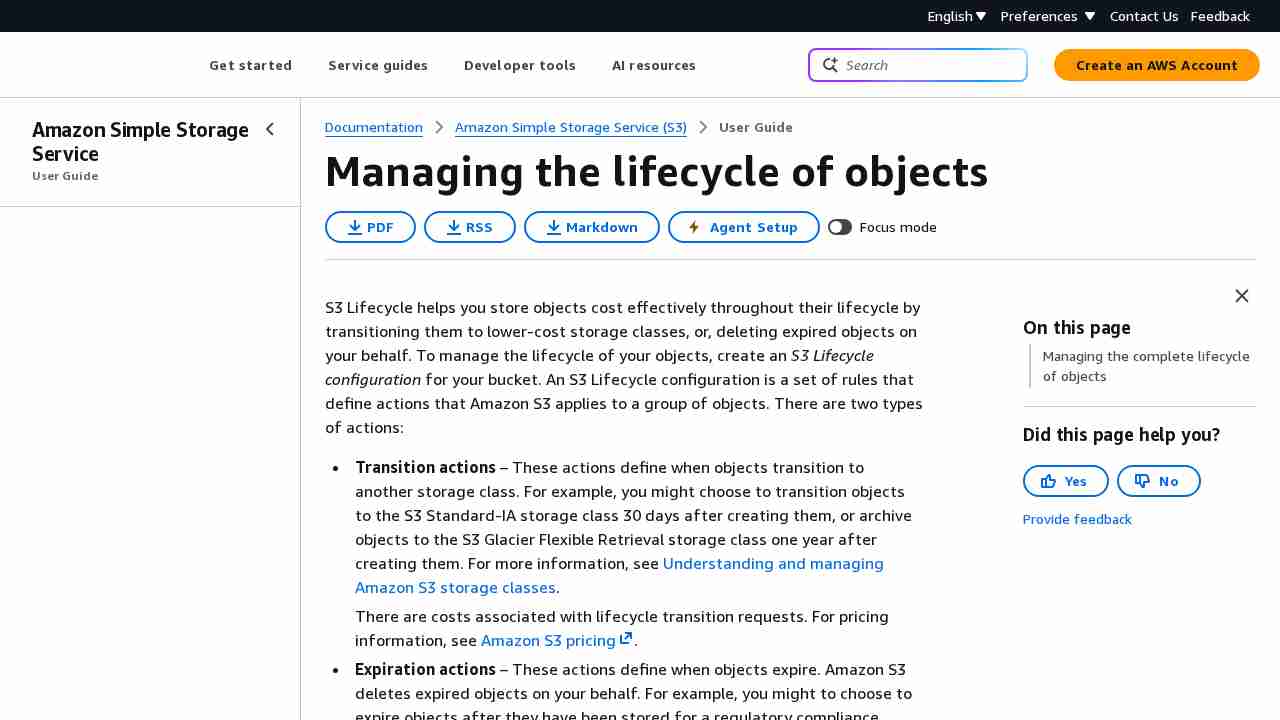
How Do I Create a Lifecycle Policy for an S3 Bucket? - Amazon Simple Storage Service
September 22, 2017 - permalink - http://docs.aws.amazon.com/AmazonS3/latest/user-guide/create-lifecycle.htmlTo apply this lifecycle rule to all objects in the bucket, choose Next.
That's why wildcard was not working :D
-
GitHub - abutaha/aws-es-proxy: aws-es-proxy is a small web server application sitting between your HTTP client (browser, curl, etc...) and Amazon Elasticsearch service.
September 5, 2017 - permalink - https://github.com/abutaha/aws-es-proxyAmazon Elasticsearch access control may be based on IAM account with signed request mechanism
One way not to rewrite all applications is using such a proxy
-
Note: List item in dynamo db table
August 18, 2017 - permalink - https://links.infomee.fr/shaare/AqSZDAaws dynamodb scan --table-name foo
-
Note: Delete dynamo db item in cmdline
August 18, 2017 - permalink - https://links.infomee.fr/shaare/bx3KXgaws dynamodb delete-item --table-name foo --key "{\"id\":{\"S\":\"$id\"}}"
-
-
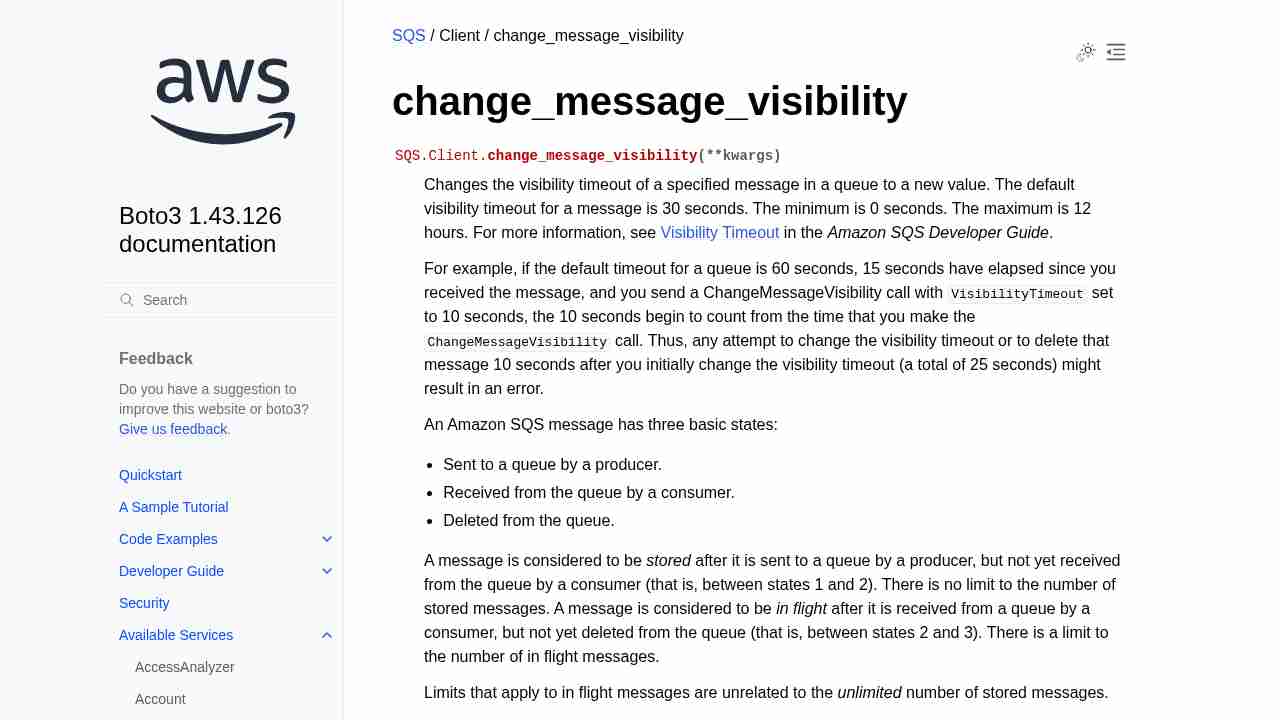
SQS — Boto 3 Docs 1.4.4 documentation
July 12, 2017 - permalink - http://boto3.readthedocs.io/en/latest/reference/services/sqs.html#SQS.Client.change_message_visibilityOn peut "remettre" ou plutot rendre disponible de nouveau un message SQS en changeant sa visibility timeout à 0
-
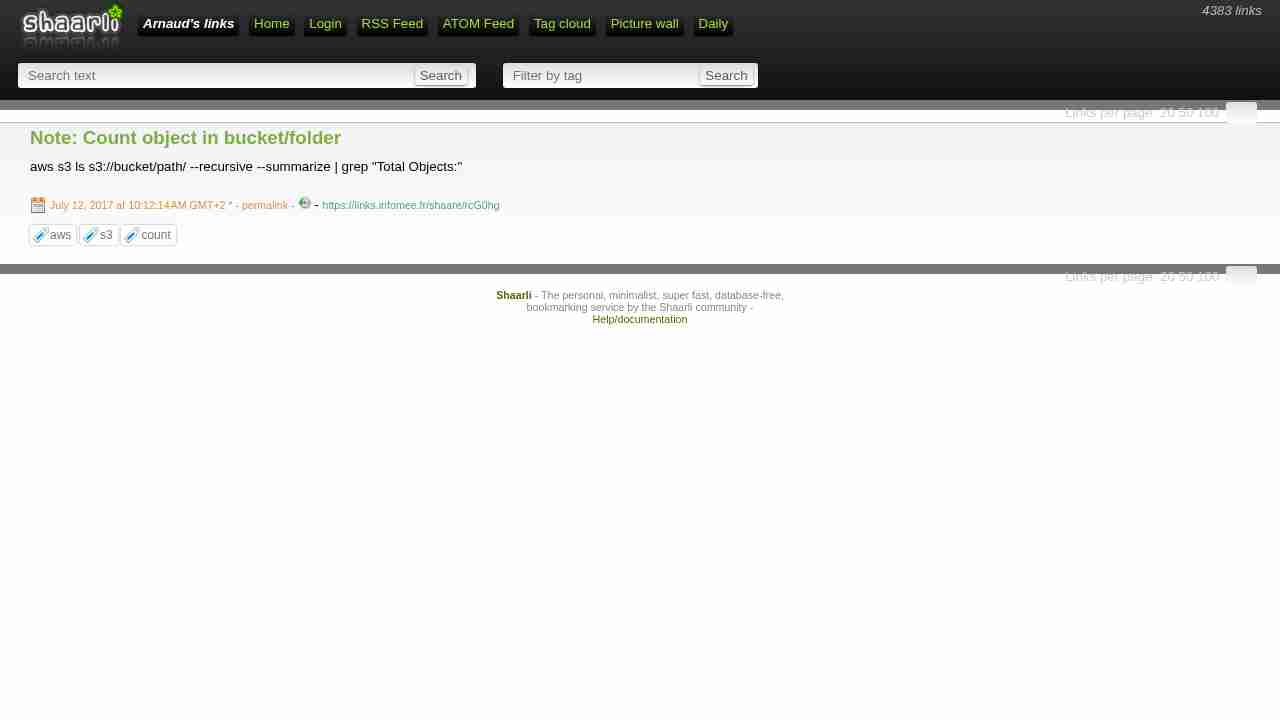
Note: Count object in bucket/folder
July 12, 2017 - permalink - https://links.infomee.fr/shaare/rcG0hgaws s3 ls s3://bucket/path/ --recursive --summarize | grep "Total Objects:"
-
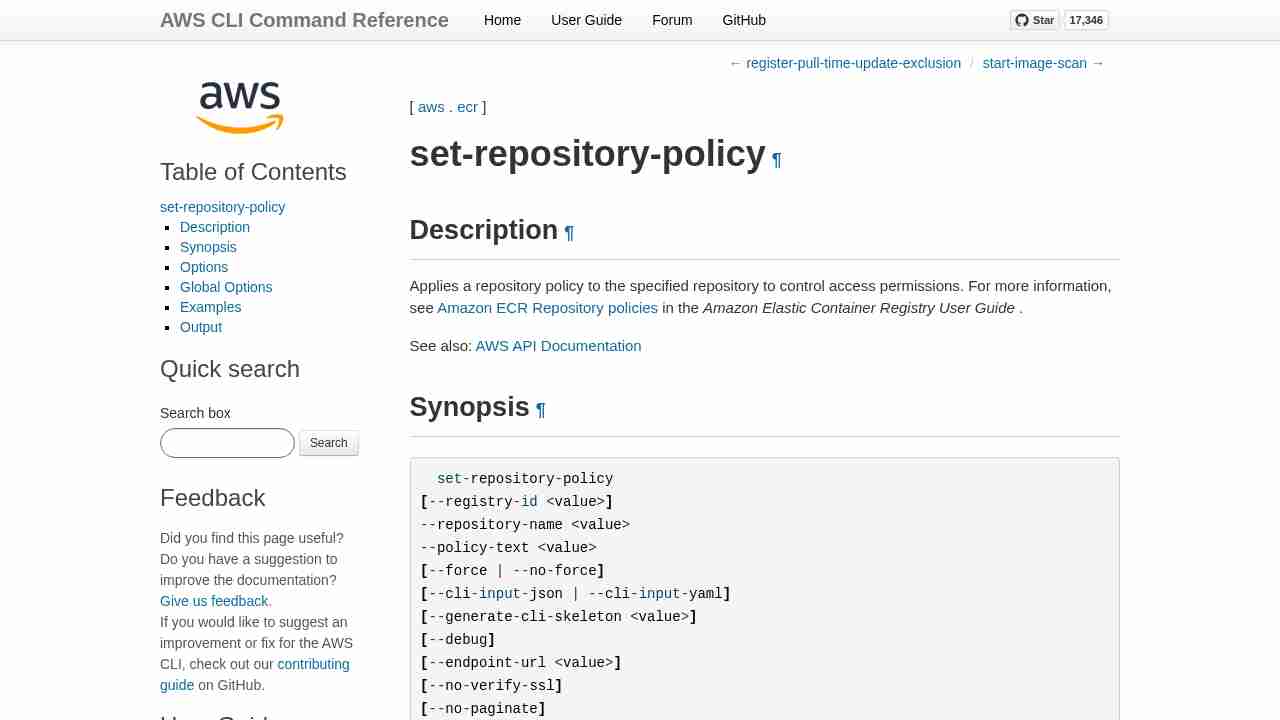
set-repository-policy — AWS CLI 1.11.117 Command Reference
July 11, 2017 - permalink - http://docs.aws.amazon.com/cli/latest/reference/ecr/set-repository-policy.htmlTruc con : on ne peut pas utiliser le résultat du get-repository-policy dans le set-repository-policy pour cloner.
Il faut au passage enlever les \n qui trainent dans la réponse
-
Amazon Glacier Direct Upload vs Glacier Upload via Amazon S3
June 27, 2017 - permalink - https://www.cloudberrylab.com/blog/compare-amazon-glacier-direct-upload-and-glacier-upload-through-amazon-s3/So you can put your data into glacier with 2 differents ways:
1) directly to glacier via API
2) Store them to s3 then with a management policy, it'll go to GlacierWarning : Huge cost when you download from glacier and when you delete before 3 months
-
-
-
-
-
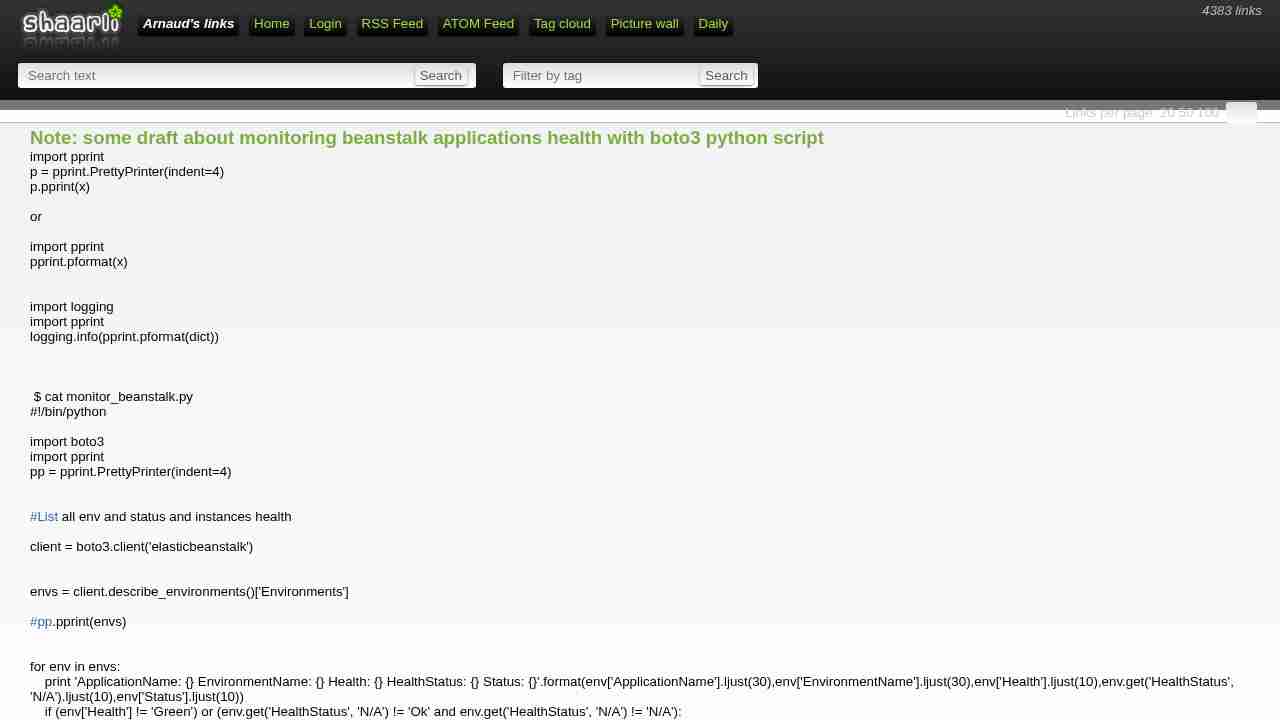
Note: some draft about monitoring beanstalk applications health with boto3 python script
June 15, 2017 - permalink - https://links.infomee.fr/shaare/eFFzMgimport pprint
p = pprint.PrettyPrinter(indent=4)
p.pprint(x)or
import pprint
pprint.pformat(x)import logging
import pprint
logging.info(pprint.pformat(dict))$ cat monitor_beanstalk.py
!/bin/python
import boto3
import pprint
pp = pprint.PrettyPrinter(indent=4)List all env and status and instances health
client = boto3.client('elasticbeanstalk')
envs = client.describe_environments()['Environments']
pp.pprint(envs)
for env in envs:
print 'ApplicationName: {} EnvironmentName: {} Health: {} HealthStatus: {} Status: {}'.format(env['ApplicationName'].ljust(30),env['EnvironmentName'].ljust(30),env['Health'].ljust(10),env.get('HealthStatus', 'N/A').ljust(10),env['Status'].ljust(10))
if (env['Health'] != 'Green') or (env.get('HealthStatus', 'N/A') != 'Ok' and env.get('HealthStatus', 'N/A') != 'N/A'):
print '\nProblem'
details = client.describe_environment_health(EnvironmentName=env['EnvironmentName'],AttributeNames=['All'])
#pp.pprint(details)
print details['Causes']
print details['InstancesHealth']
print '\n'
-
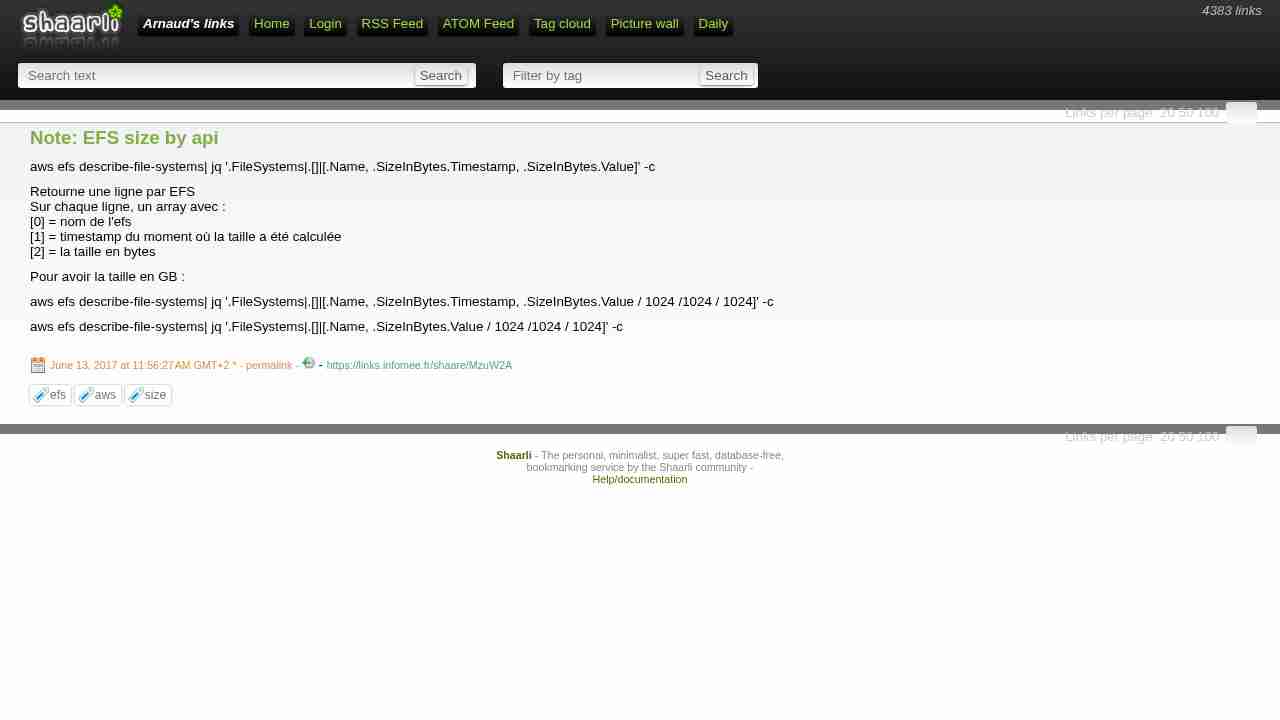
Note: EFS size by api
June 13, 2017 - permalink - https://links.infomee.fr/shaare/MzuW2Aaws efs describe-file-systems| jq '.FileSystems|.[]|[.Name, .SizeInBytes.Timestamp, .SizeInBytes.Value]' -c
Retourne une ligne par EFS
Sur chaque ligne, un array avec :
[0] = nom de l'efs
[1] = timestamp du moment où la taille a été calculée
[2] = la taille en bytesPour avoir la taille en GB :
aws efs describe-file-systems| jq '.FileSystems|.[]|[.Name, .SizeInBytes.Timestamp, .SizeInBytes.Value / 1024 /1024 / 1024]' -c
aws efs describe-file-systems| jq '.FileSystems|.[]|[.Name, .SizeInBytes.Value / 1024 /1024 / 1024]' -c
-
Example 2: Bucket Owner Granting Cross-Account Bucket Permissions - Amazon Simple Storage Service
June 12, 2017 - permalink - http://docs.aws.amazon.com/AmazonS3/latest/dev/example-walkthroughs-managing-access-example2.htmlDonc pour autoriser un compte externe, on va créer une bucket policy sur notre bucket pour autoriser "arn:aws:iam::account_id:root" ou plus précis sur l'user arn:aws:iam::account_id:user/foobar ou le role
C'est le compte en face qui va décider qui a le droit de venir sur notre bucket avec des user policy standard (quand on est dans le contexte du compte en face, c'est comme si le bucket nous appartenait)
Exemple bucket policy à mettre sur le BUCKET de l'account A pour autoriser l'account xxx en RW
{
"Version": "2012-10-17",
"Statement": [{ "Sid": "Allow account_xx on aws account xxx RW", "Effect": "Allow", "Principal": { "AWS": "arn:aws:iam::OTHER_ACCOUNT_ID:root" }, "Action": ["s3:GetBucketLocation", "s3:ListBucket"], "Resource": "arn:aws:s3:::BUCKET" }, { "Sid": "Allow account_xx on aws account xxx RW", "Effect": "Allow", "Principal": { "AWS": "arn:aws:iam::OTHER_ACCOUNT_ID:root" }, "Action": [ "s3:*" ], "Resource": "arn:aws:s3:::BUCKET/*" } ]}
Pour Read only, remplacer action du deuxieme bloc par "Action": ["s3:Get","s3:List"],
-
-